Rosemary’s bedroom is on the south western side of our bungalow and therefore gets very hot in the summer sun, but as she also likes to have the window well open at night for ventilation it is also vulnerable to the weather generally, and therefore rain can drive into the open window when chased by the wind.
To help alleviate these problems then to an extent, I decided to build a canopy over the window to give both shade in the summer and a level of rain protection during a shower.
I had a look around the workshop and thought I may have enough odds and ends left over from other projects to do the job, and so it transpired that the canopy was built at no cost which was quite satisfying.
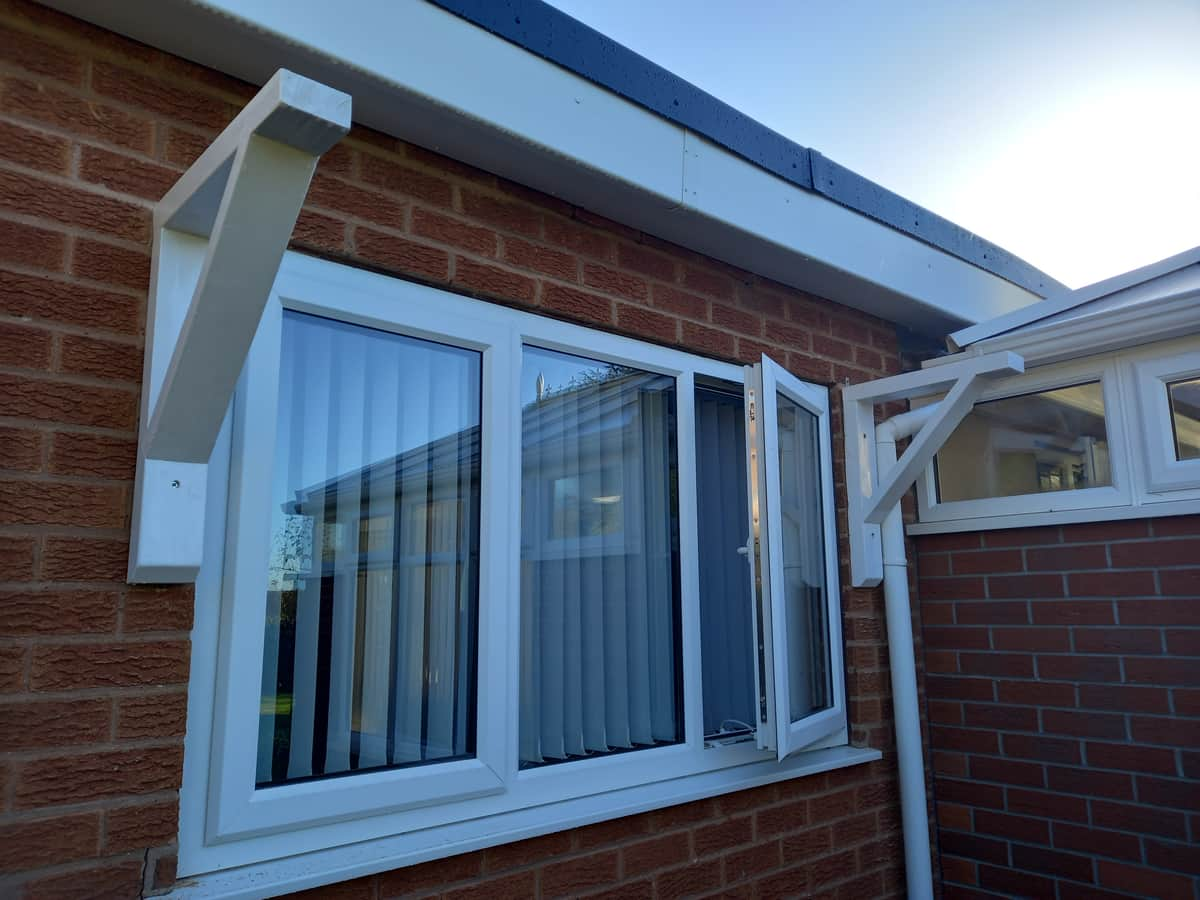
First thing I needed was timber for the gallows brackets, which I managed to cut out of two offcuts of garden sleepers left over from the garden room foundations. Here are the brackets fixed to the wall as supports for the roof structure.
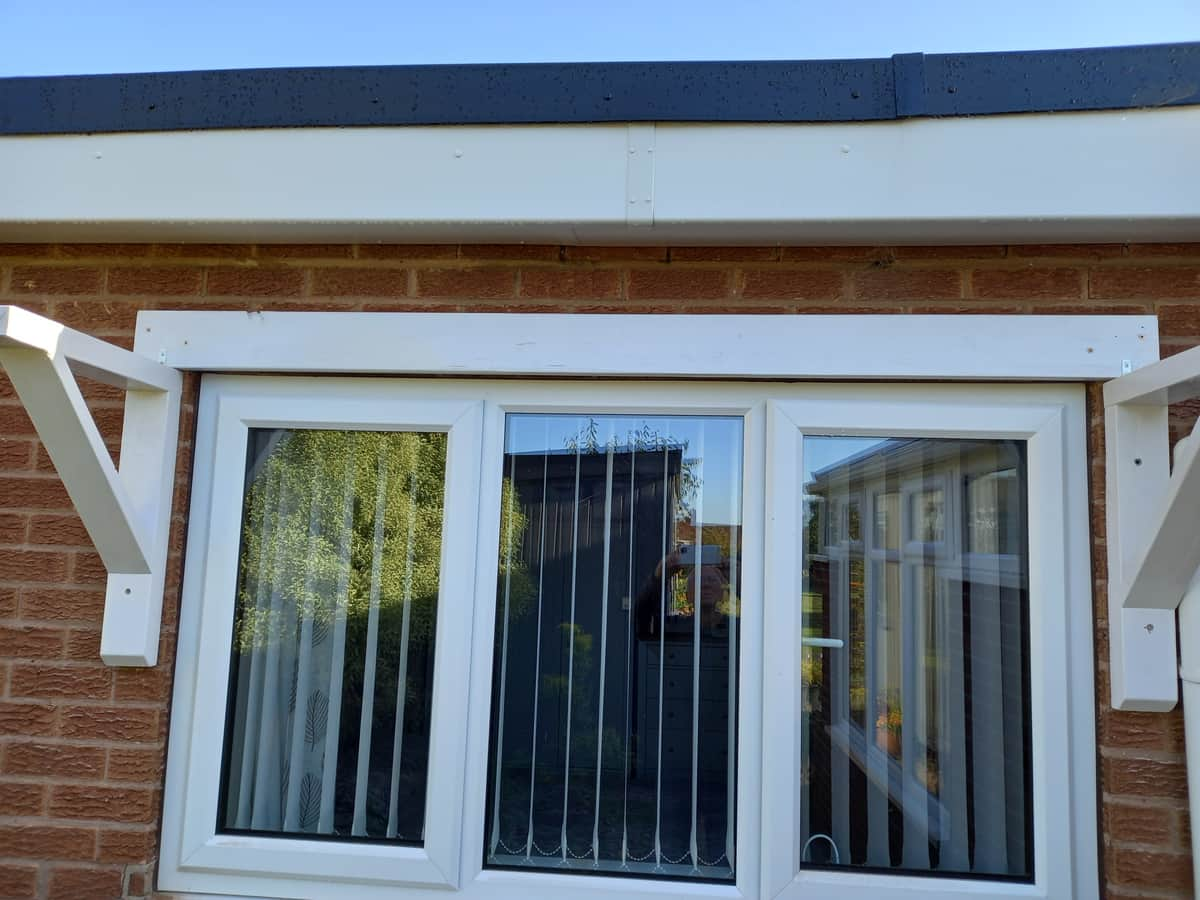
The next step was to place a wall plate to the window head to support the rafters, which I made out of a piece of spare decking, here it is fixed in place…
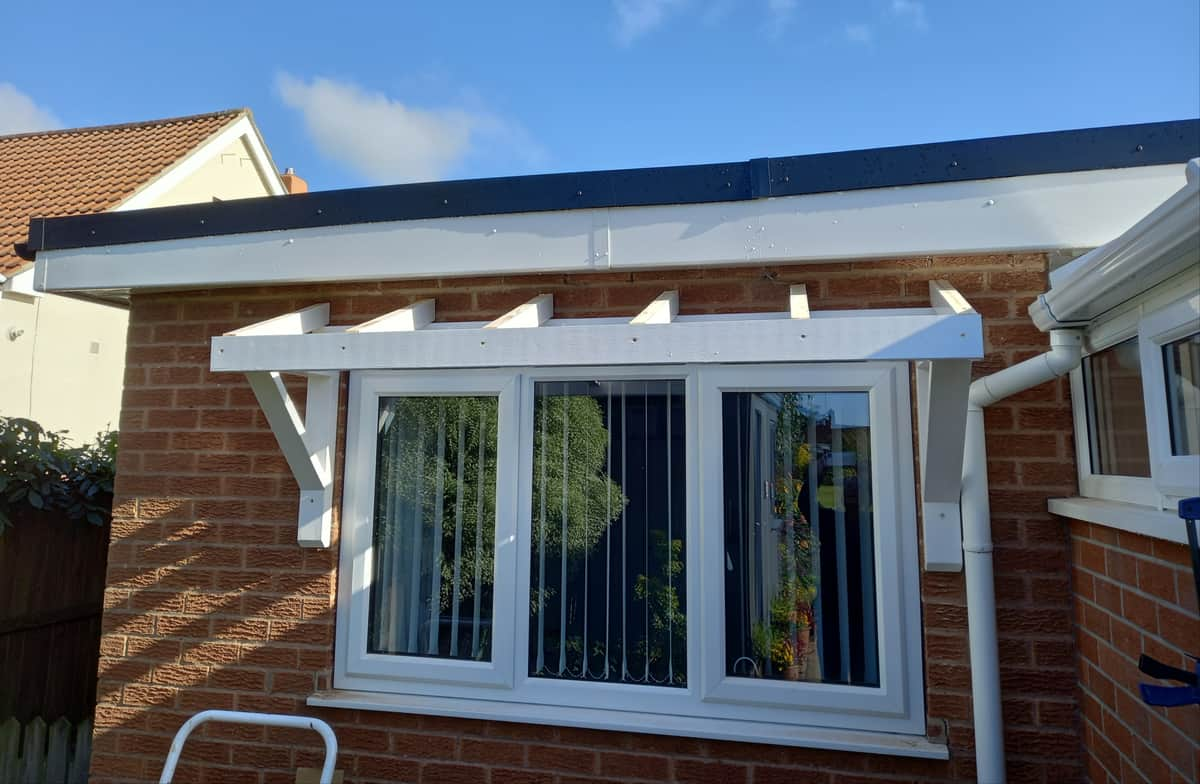
I then found a piece of 4x2 to form the front support beam, which will also serve as a fascia and I also found some short offcuts of 6x2 which I ripped down with my circular saw to make enough 3x2s to form the rafters…
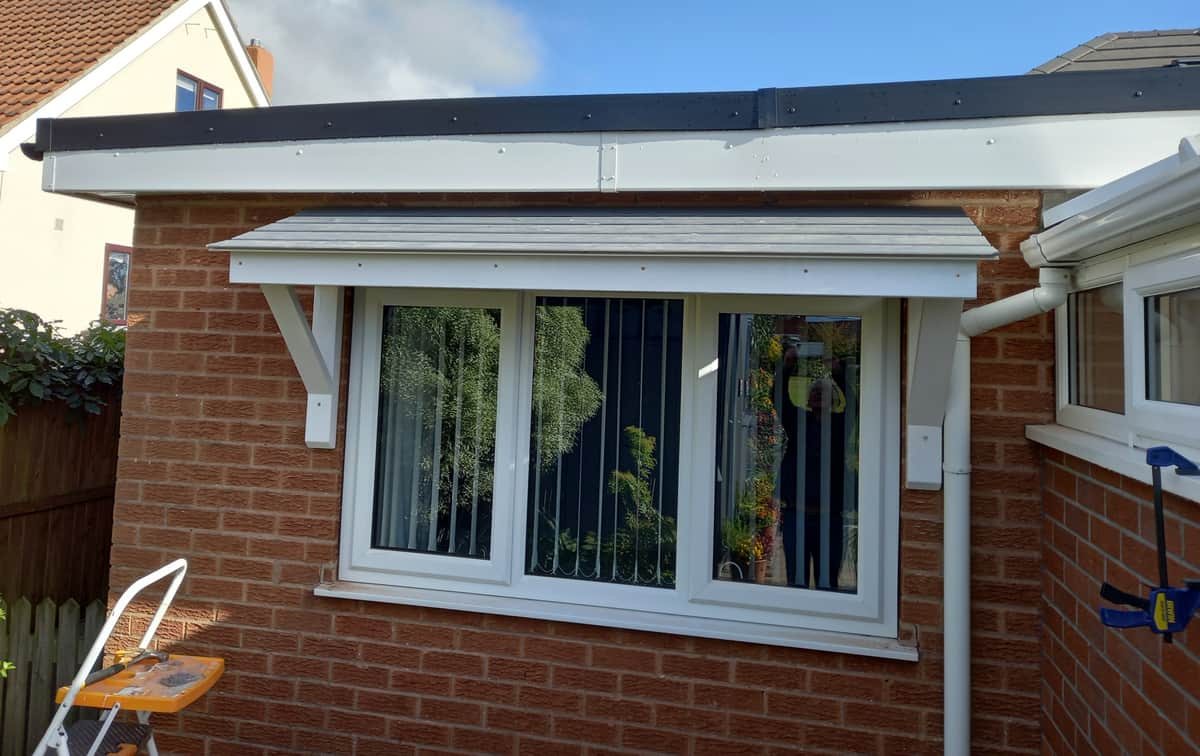
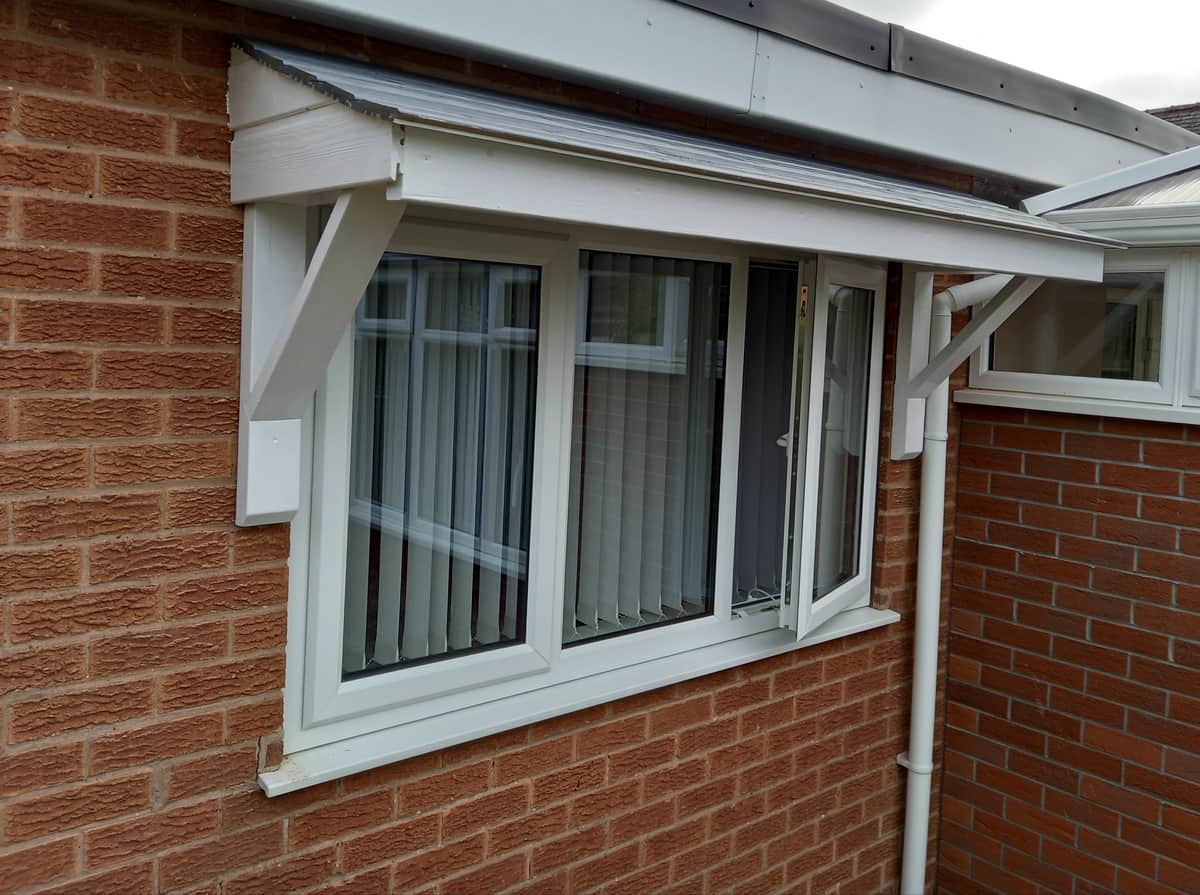
After which a couple of offcuts of the same boarding made the gable ends. Just a splash of touch up paint then and the job was complete, total cost £0.00…
Thanks @PixieKnuckles , it took three days overall, but most of that was waiting for the paint to dry in the workshop. I painted it before I put it together just for the fact that it’s easier, but if I hadn’t done that I guess it was a day’s work in total.


 How long did it take you to build up, Barry?