The Green Lantern(s)

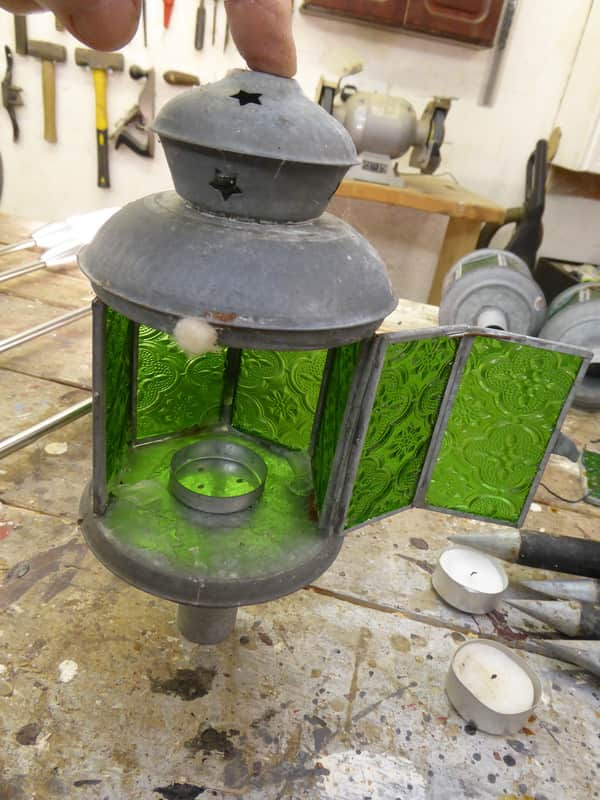
We bought these nice lanterns whilst on holiday in Cartmel many moons and suns ago.

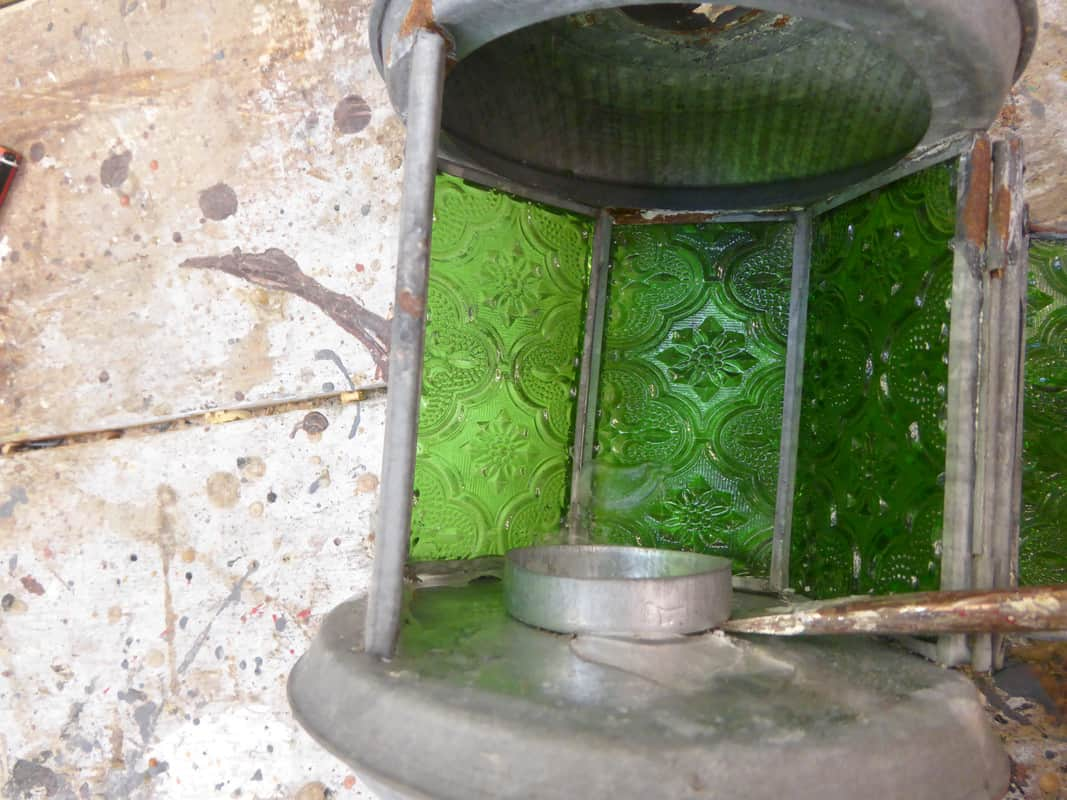
Made from galvanised steel and glass, and meant to sit on wooden steel-tipped posts, they were designed to house tea-lights,

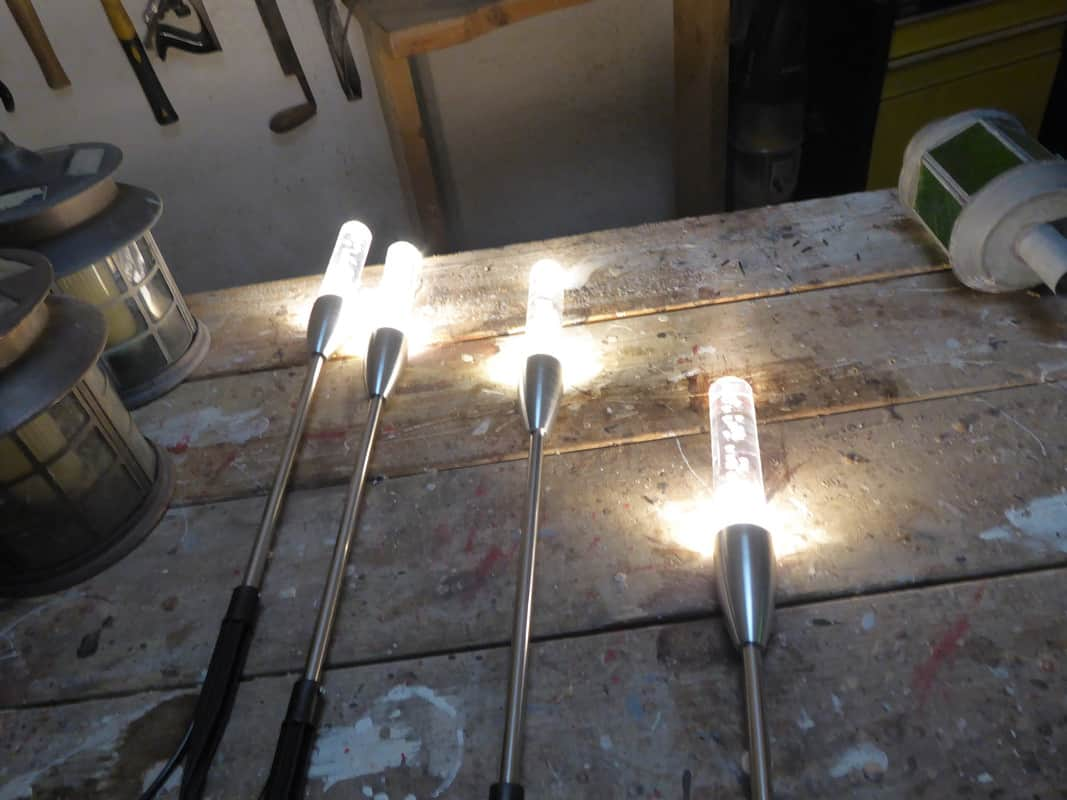
… but I wanted to convert them to run on electrickery so they could be switched on by a timer, or remote control with the rest of the garden lights. It has taken me a while to find something suitable, but eventually I decided that this set of six 12v DC LED lights would be perfect.

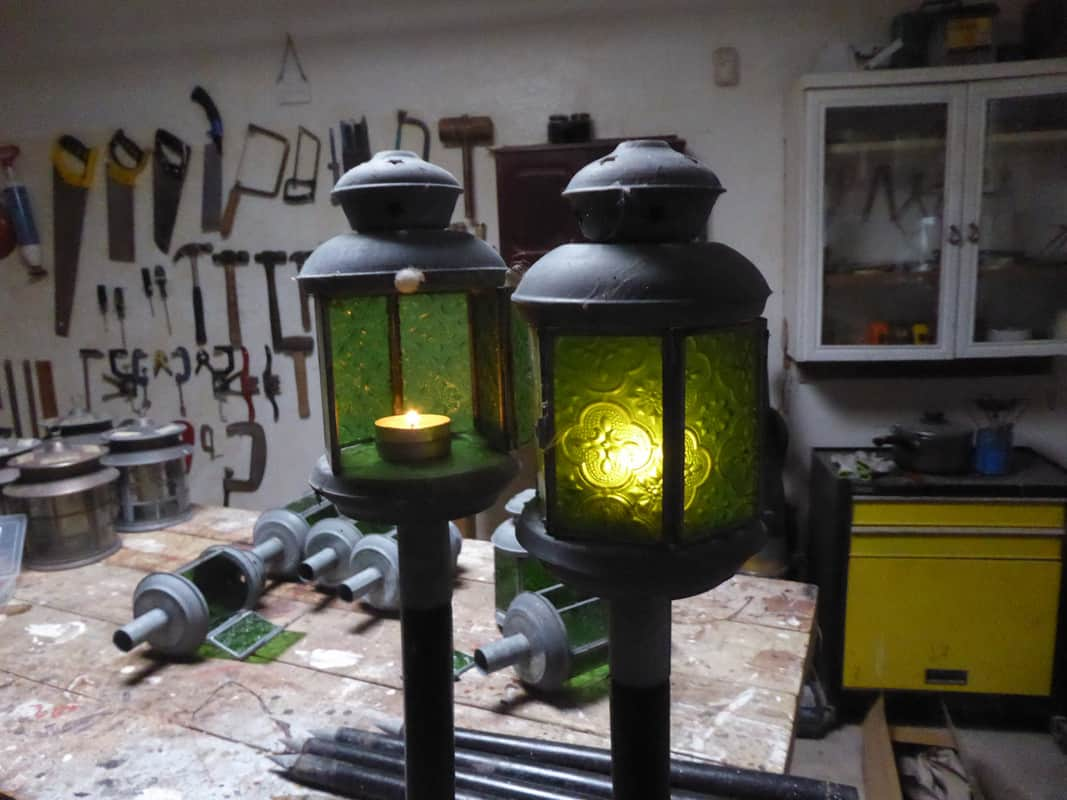
Just a quick check by poking the lights through the lantern doors to get an idea what they might look like when converted. Yep, that will do nicely.

Take one lantern,

Then top …

… and tail the excess tinware.

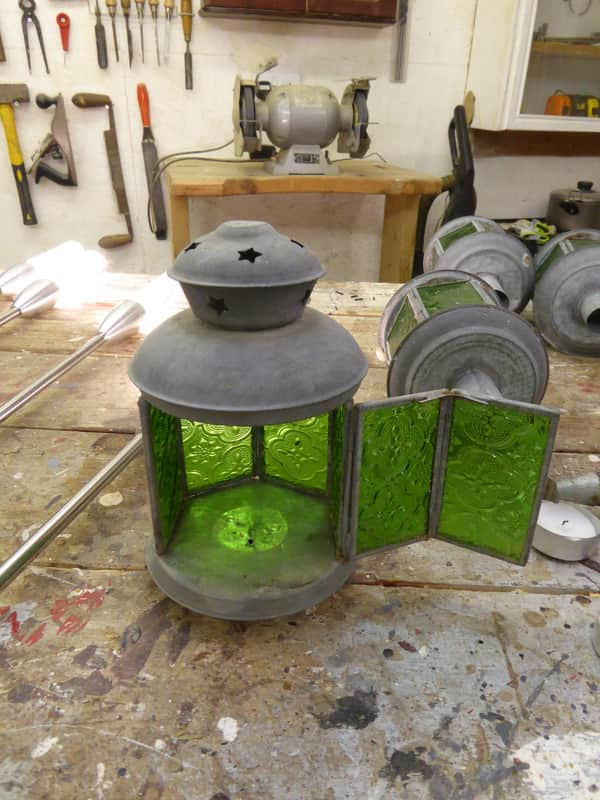
It’s now ready to have a hole cut into the double-skinned base to take the new elastic-trickery lights. Note the star shaped vents in the chimney cowl.

Chain-drilling it’s bottom.

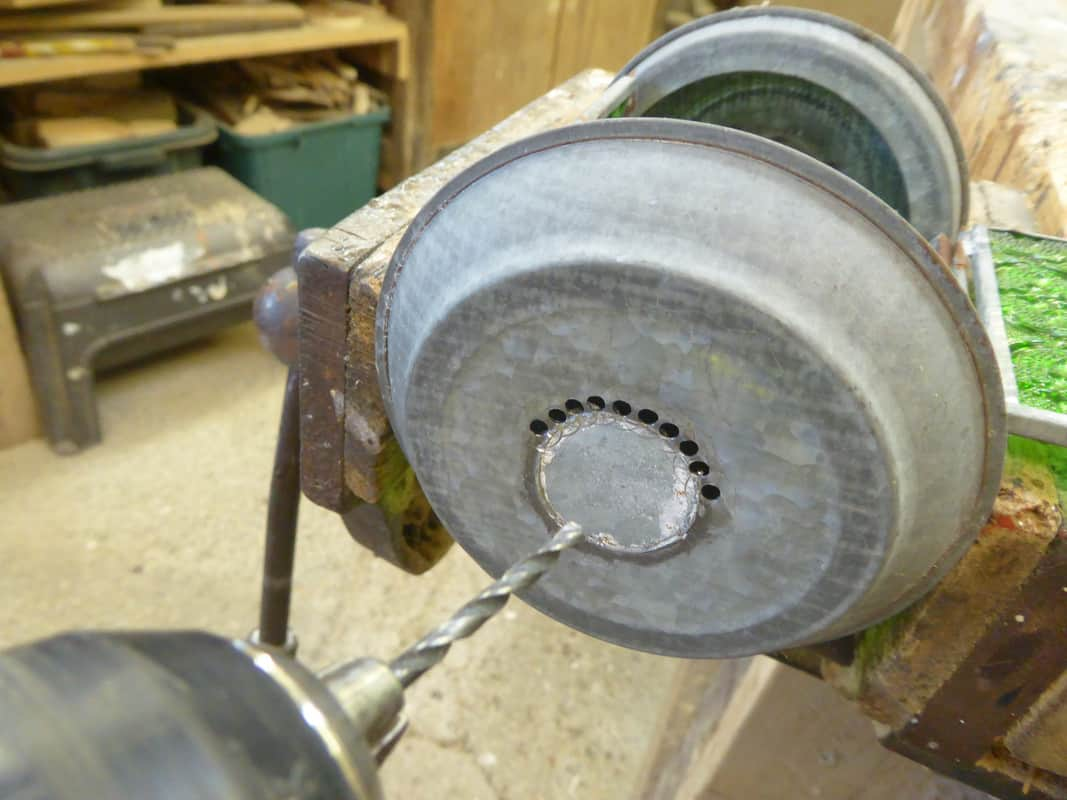
Making sure both skins were pierced.

Unzipping the inner base with a reciprocating detail-saw.

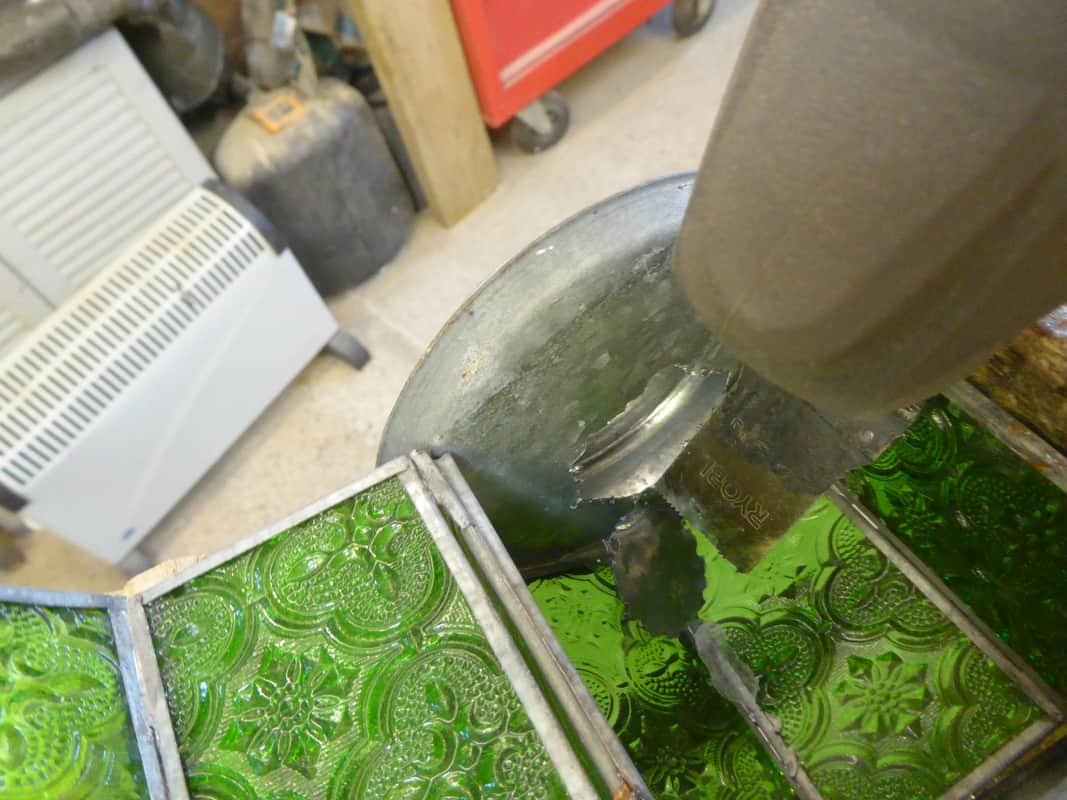
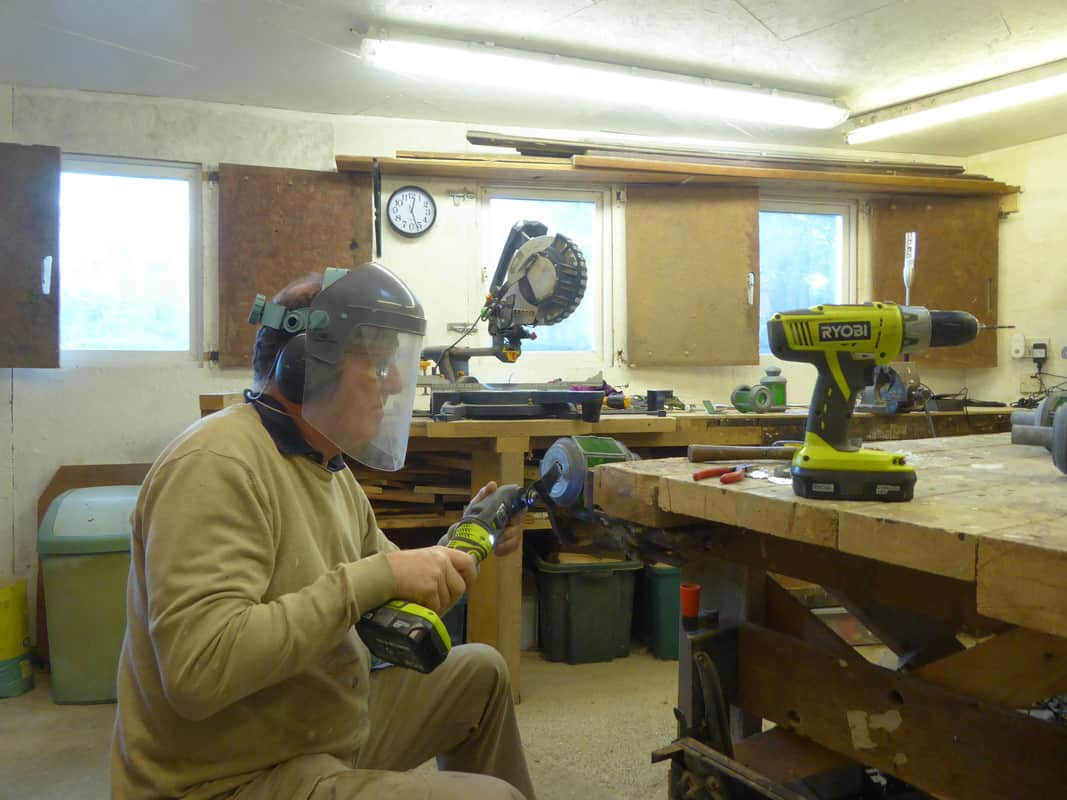
Doing the same to the outer skin. Safety first!

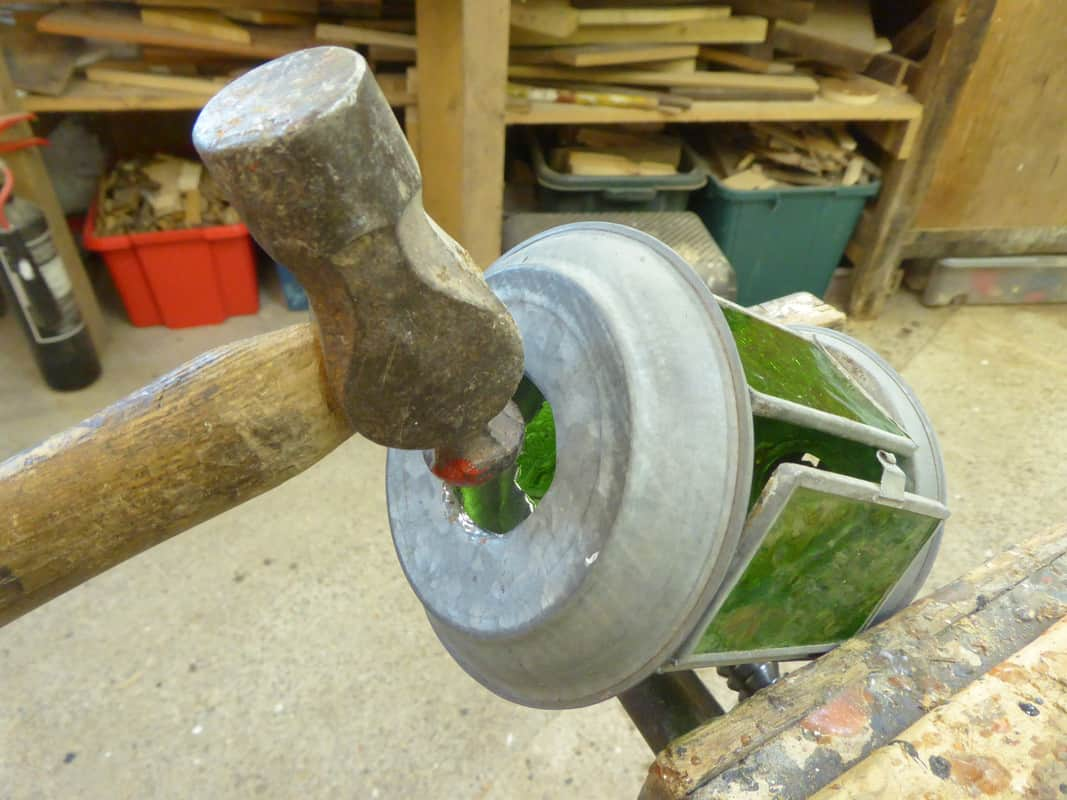
Peening over the sharp edges. Repeated for the inner skin.

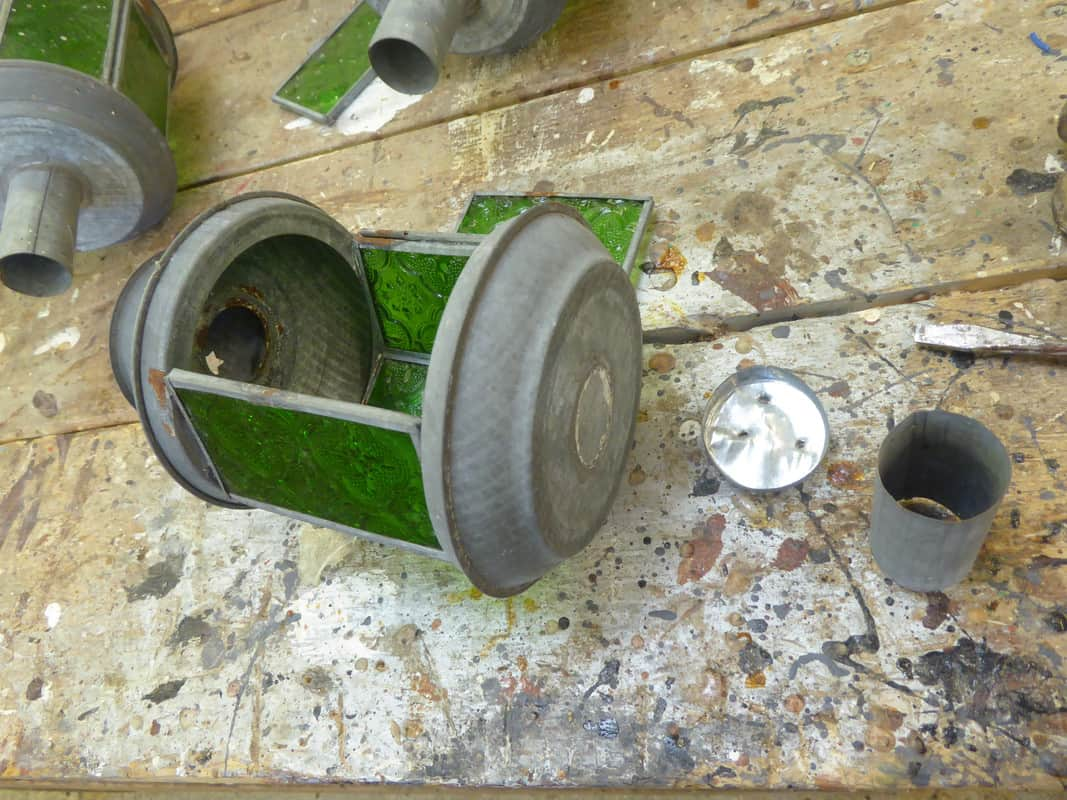
Upside down. The base of the chimney was angled down. By reversing the chamfer, it made a recess for the top of the LED light to sit in and centre the lantern perfectly.

I kept a couple of the tin choobs to add to my metal store in case I found a use for it on another project. The rest of the scrap went in an empty baked bean tin and was then put out with the rest of the household recycling.

Test firing of the first completed conversion.

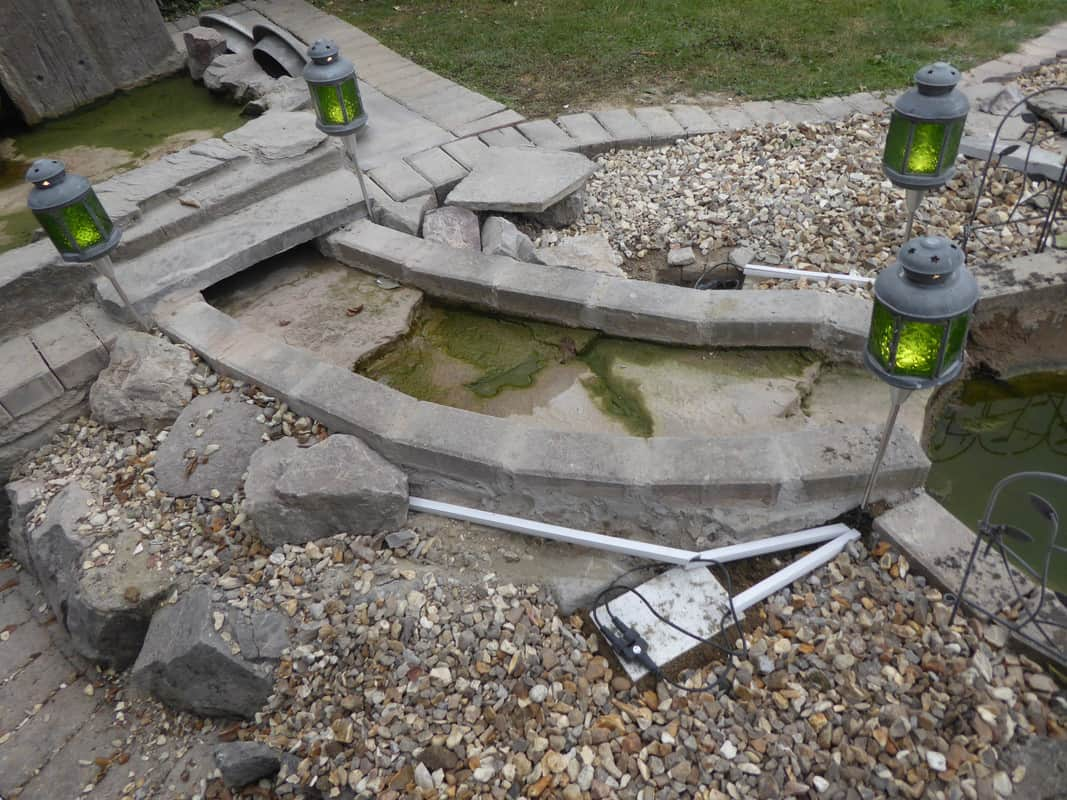
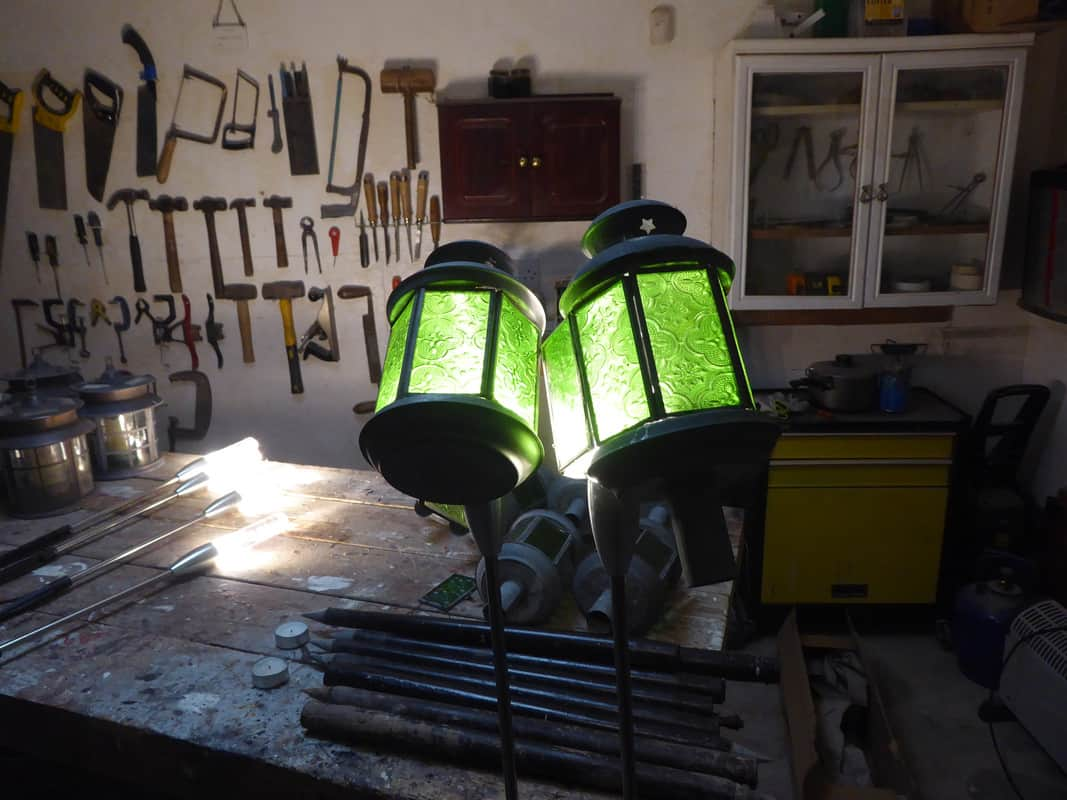
All six completed and set out in daylight.
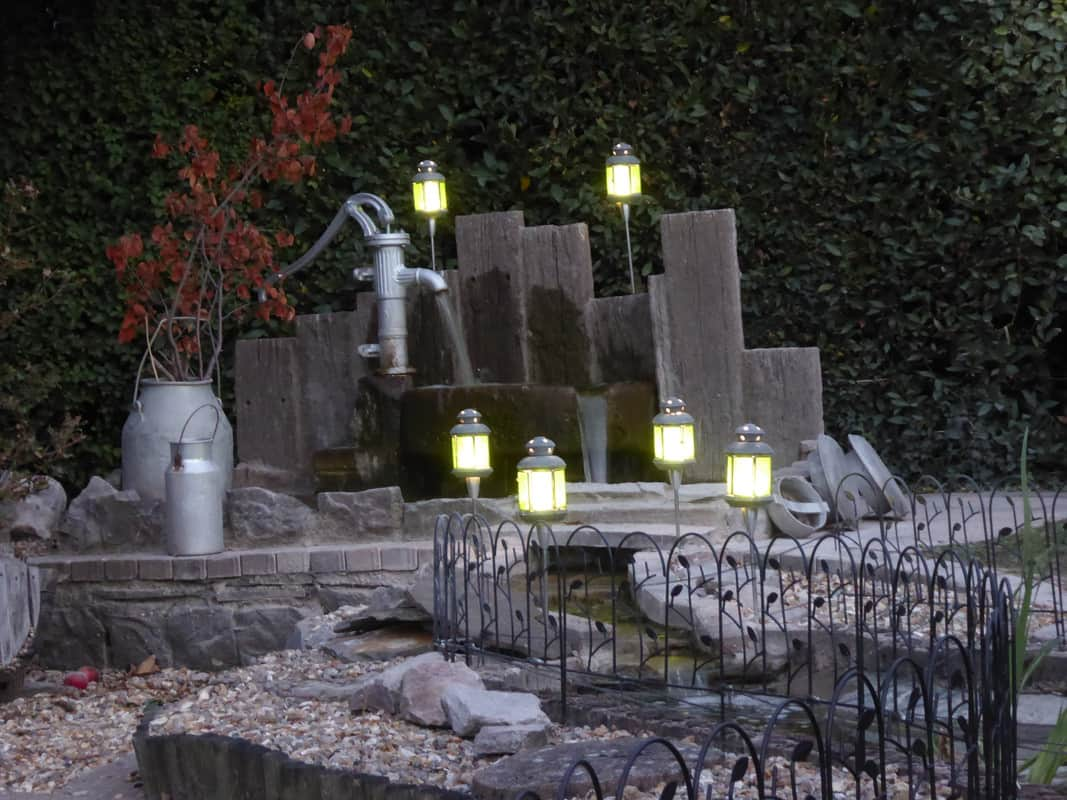
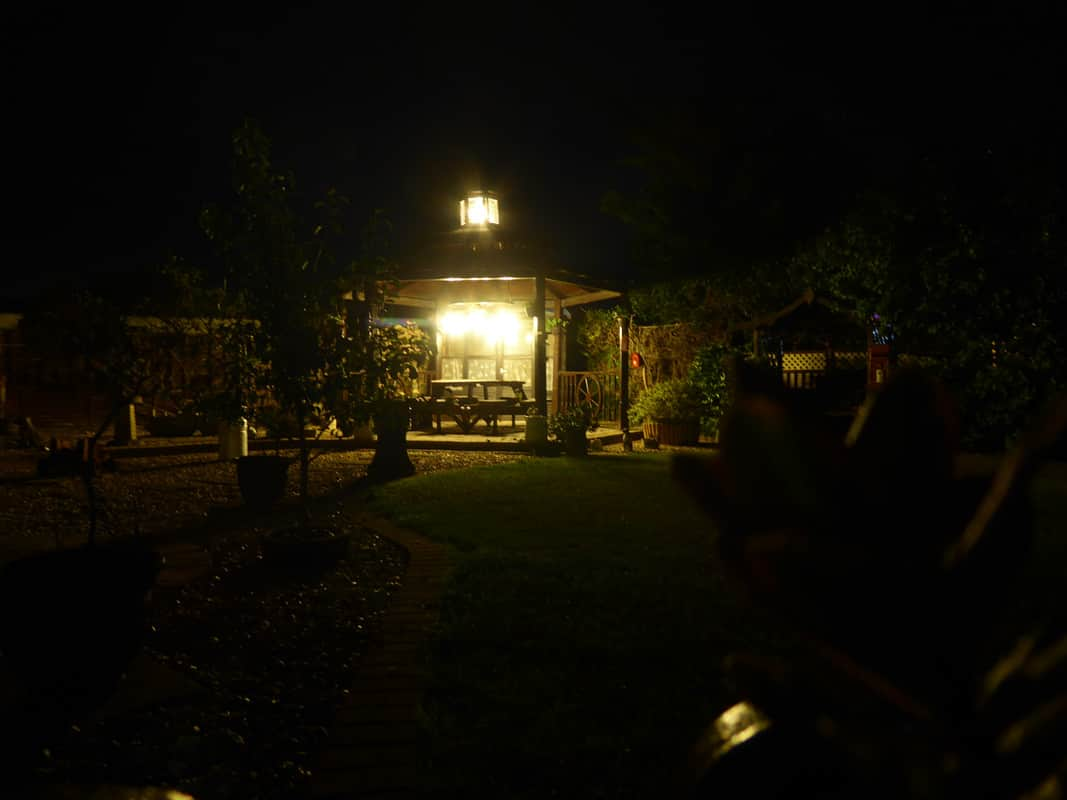
Darkness descends.

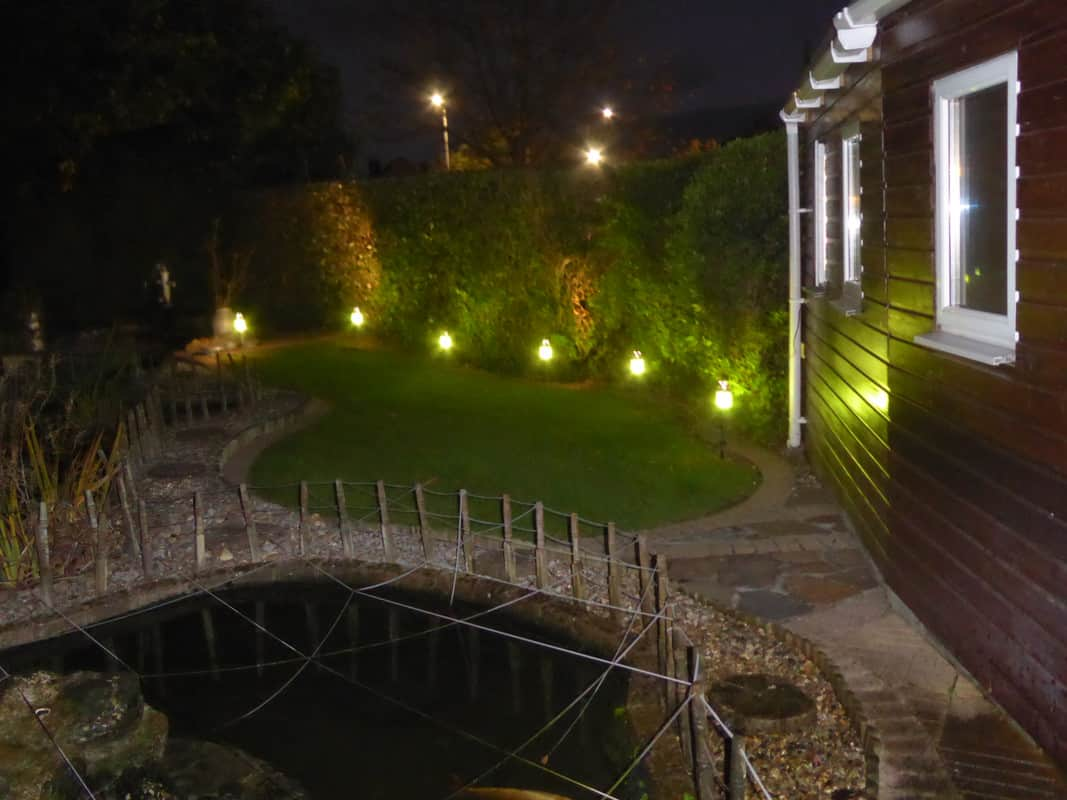
The photos don’t really do them justice, and we have yet to decide on their final resting place, but my Lovely Cousin is pleased with the result. We are especially pleased with the light breaking through the star-shaped holes in the chimlies.
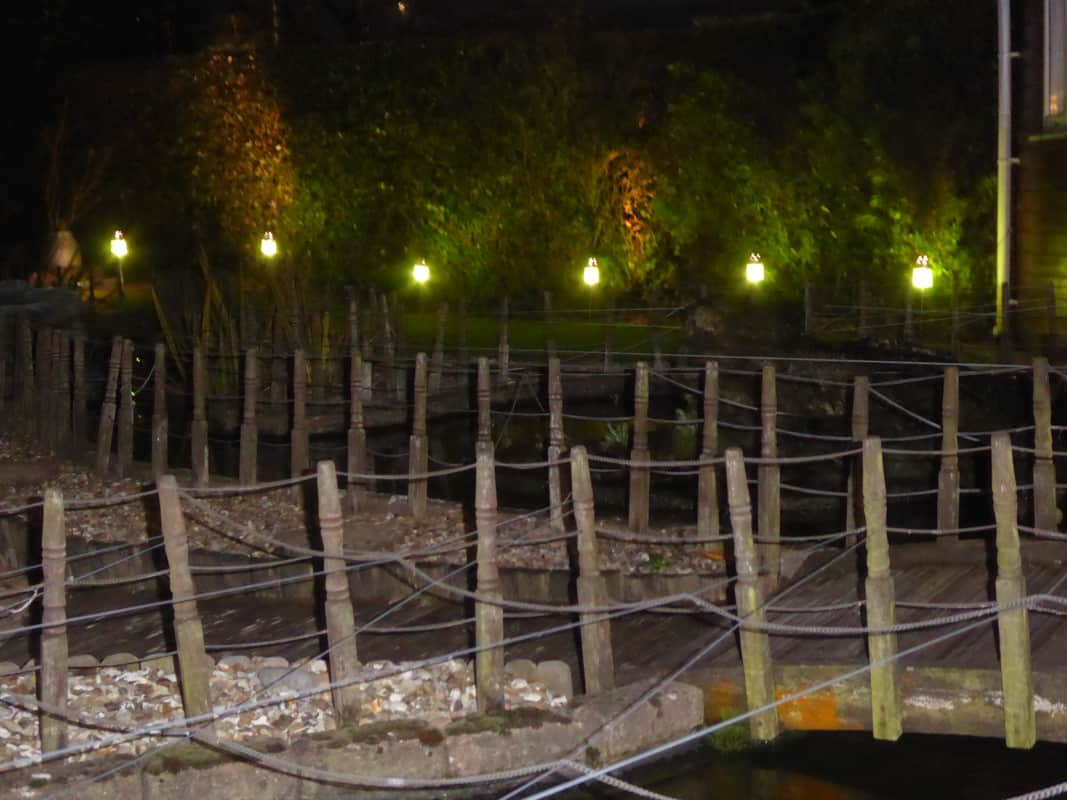
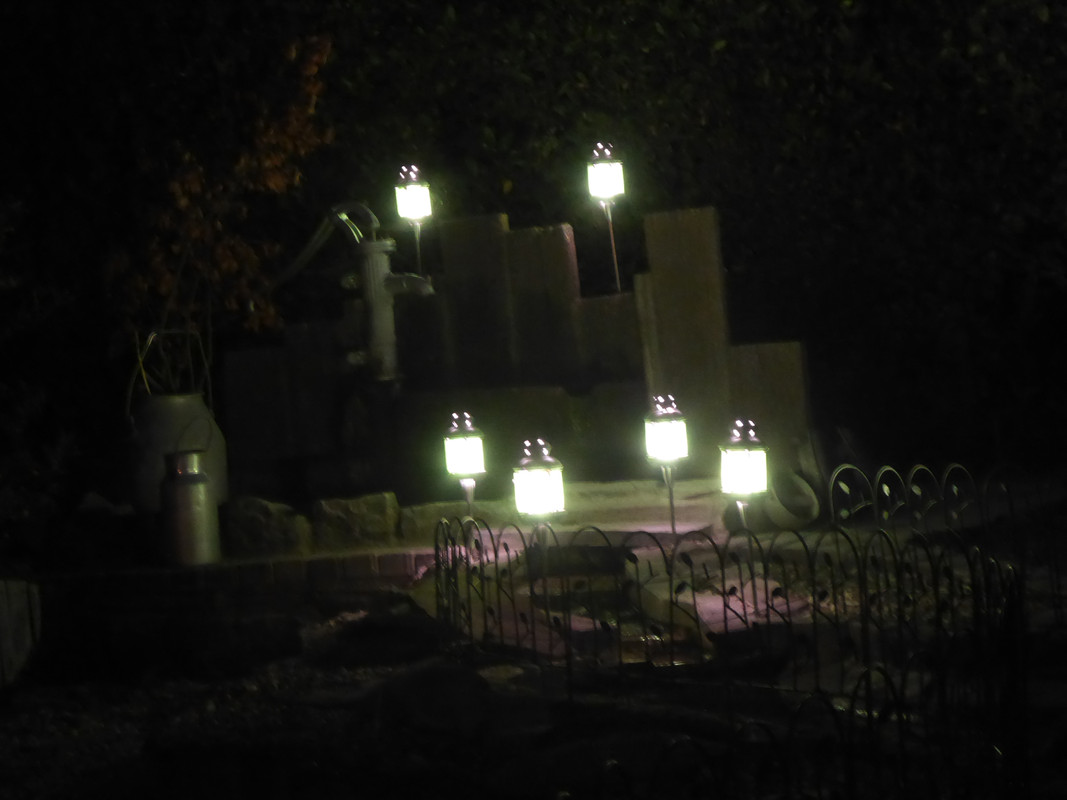
4 Likes

They look wonderful, Fruity! Well done :clap: So pretty!

1 Like

They look fabulous, you are a clever fruitcake.

1 Like

Amazing!

Well thought out, Fruity :+1:

1 Like

Yes very effective.
And your workshop is so tidy.You wouldn’t want to look in our shed.

1 Like

I love those. Nice job.
I’ve never seen the green glass before on a lantern. I like. A lot!
If you ever tire of them, I have a nice spot in my garden where they would look wonderful! :lol:

1 Like

It’s been a while, but I have finally got round to installing the lanterns around the modified water feature.

I had to make the cable run fox-proof, so I ran it through trunking from the waterproof transformer box then underground using up odds and ends of old piping and connectors.

To do this I had to drill through the concrete base of this brick edging.

The cables are about 2m long, with a plug at one end and double socket at the other. The first light plugs into one socket, then the next cable plugs into the other socket, and so on to make a daisy chain.
I needed to make a chamber for some of the connectors in case any of the lights ever need replacing. The connectors are waterproof so the chambers don’t need to be watertight, just a space for the double connector and coiled up cable to take up slack as required.

The connectors for the first two lights are inside some old trunking I have had knocking around for years.

Odd lengths of drainpipe made excellent trunking for the next pair of lights.

I made this chamber by casting concrete round a wooden box, then removed the box once the concrete was set. You can just make out the the single incoming cable with double connector leading to the next light in the sequence and the other cable leading to the next one after that.

Another connector chamber cut into the concrete base of the water feature. This section didn’t need to be buried because it will be covered by rocks and gravel, so I used plastic trunking.
I then drilled down at an angle under the pond edging before slicing a groove under the edge of the “waterfall” with an ankle grinder (if you have ever used one you will know that is not a spelling mistake) to run the cable along.

The other side of the zoom flume. I drilled down at an angle again to run the cable back up for the next pair of lights. You can now see the double connector configuration.
The white rectangle is the wooden box I used previously. I cast concrete around it as before. When it’s dry, I shall pull out the box, then drop the connector and spare cable into the void.

Dusk.

… and finally, night descends on Fruitcake Folly.

These lights are fed from a programmable socket mounted on the outside of my workshop, so I have programmed the remote control such that they come on when the gazebo lights come on.

2 Likes

Hi

Absolutely brilliant, in more ways than one.

Your precision is amazing.

1 Like

Wow - those are really beautiful - and a great testement to your ingenuity! I love the patterns in the glass - pictures 5 and 6 show it very clearly.

1 Like

This is fascinating, the process to the final results. It looks stunning, well done! :+1:

2 Likes

Absolutely beautiful, that must have taken a lot of planning.

Well done Fruity! :+1:

1 Like

What is this planning of which you speak? I just bumble along and make it up as I go.

2 Likes

Top stuff, an excellent job, inspiring. :upside_down_face:
But here “downunder” in Oz where I live I guess I’d have to mount them the other end up ?
:grinning: :upside_down_face: :innocent:

1 Like