I recently came across these photos of a project I did over thirty years ago.
I had wanted to have a go at making a traditional wooden carved rocking horse for our son, and a book on how to do it arrived one Winter Solstice, curtesy of the Hogfather.
I sent off for a set of paper templates, then made plywood patterns from the drawings so I could re-use them if I ever wanted to make another horse.
Sadly many of the photos and/or procedures are missing, but at least I can show you the basics.
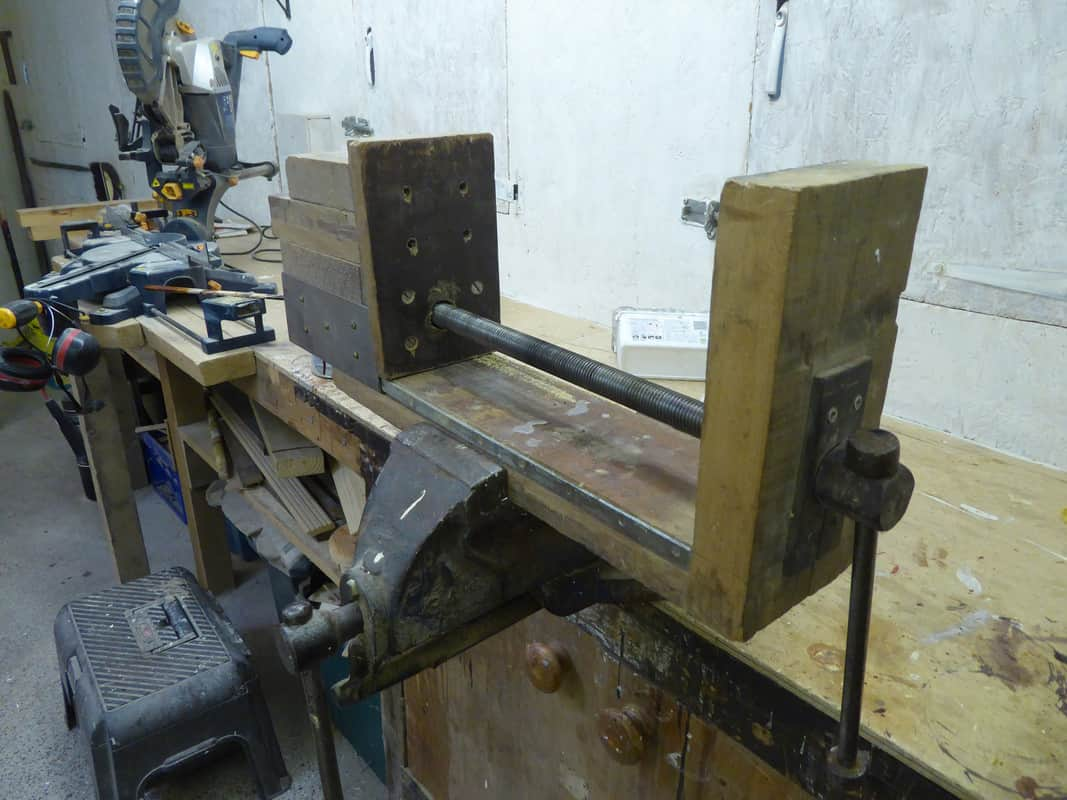
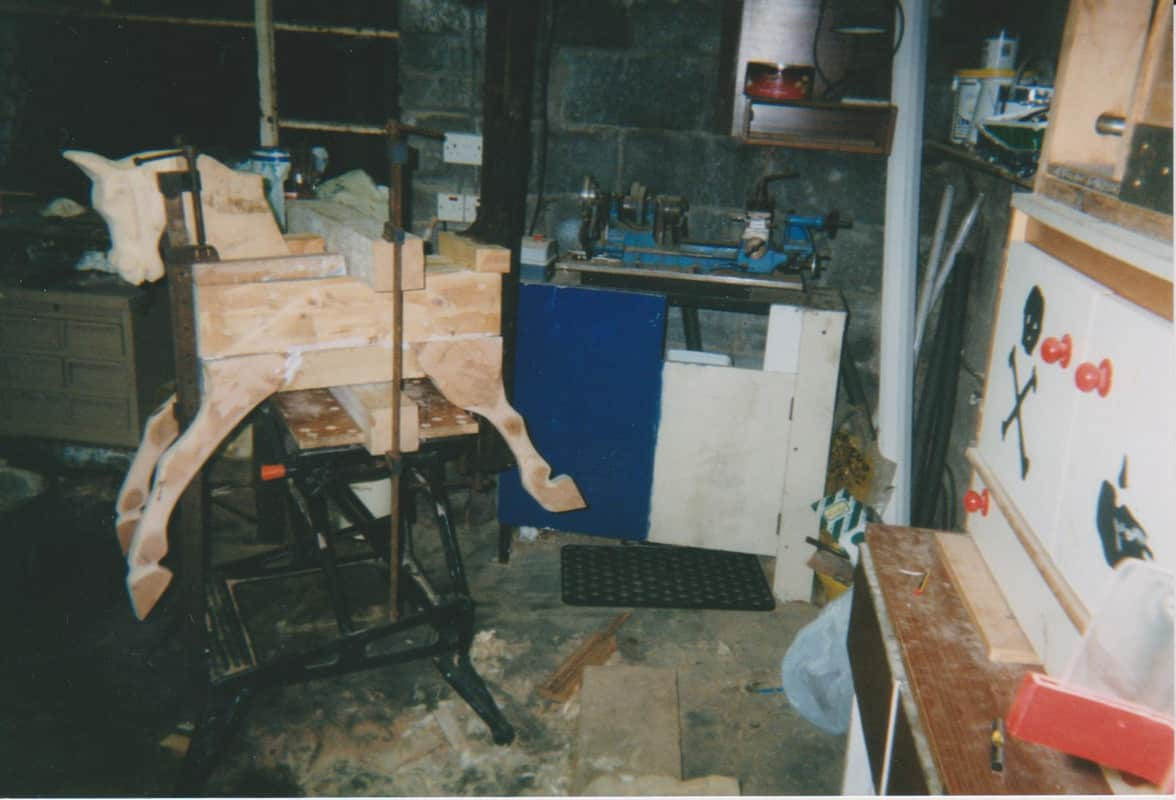
Before I started, I needed a vice big enough to mount several of the larger wooden blocks so I could carve them to shape. MY first job was to buy a set of plans then make this set of carver’s chops.
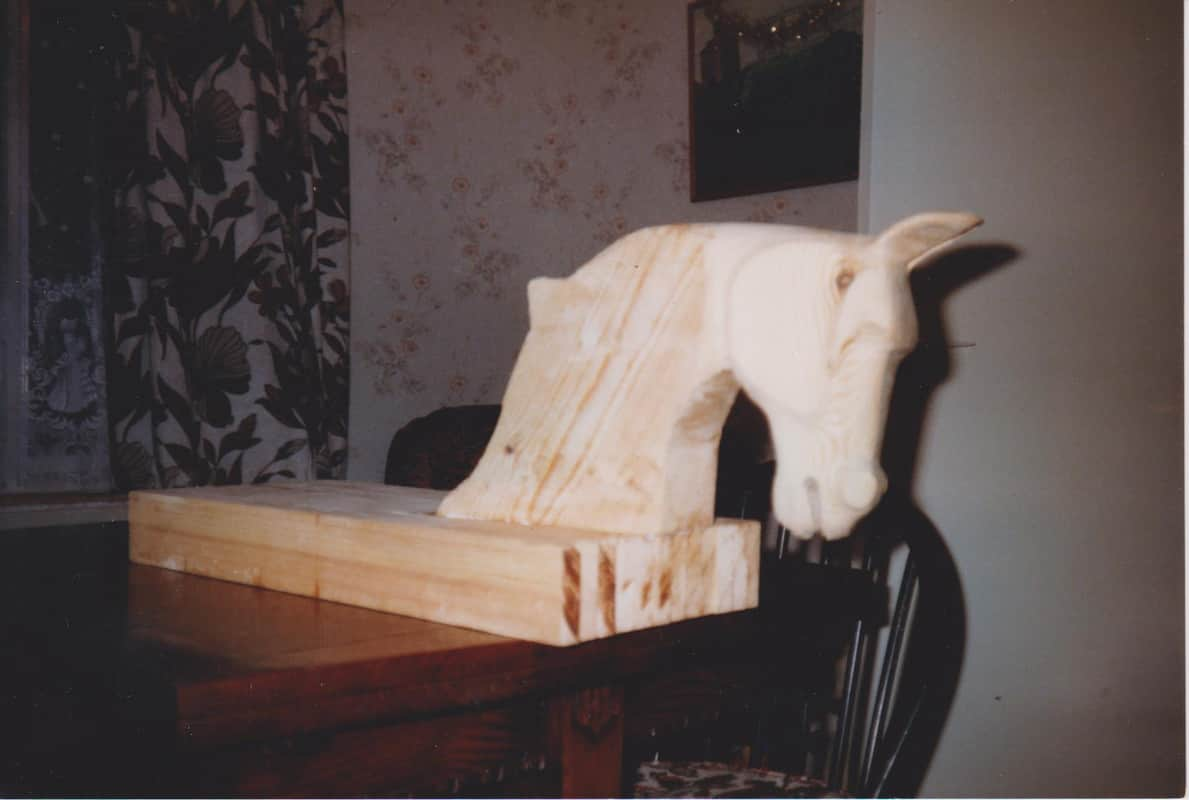
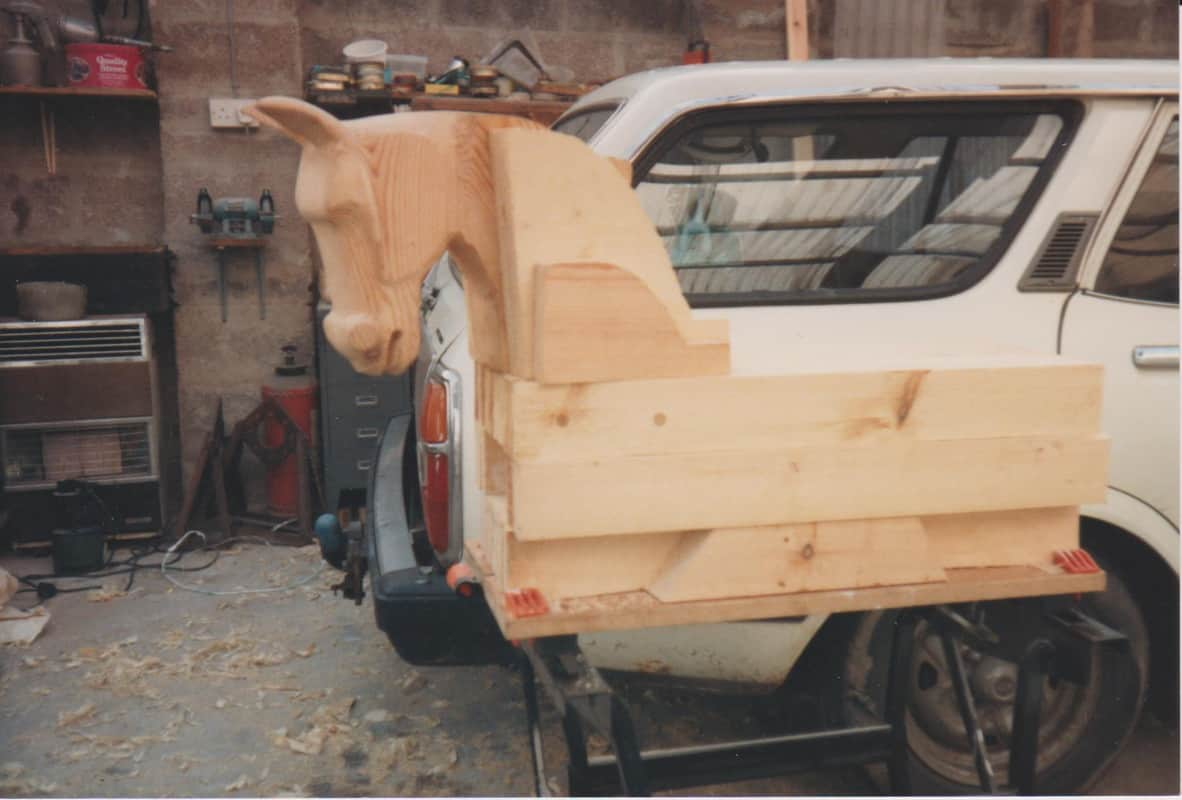
Head and neck made from two separate pieces of wood. I carved the head first then glued it to the main neck block, before gluing that to the top of the body. The head is glued at an angle to the neck, and the neck is glued at an angle on the body as if the horse is turning.
The bit sticking out of the back of the neck is a clamping noggin which is then cut off after the three pieces pieces are glued together.
I didn’t have any wood thick enough for the body, so I constructed each part by gluing three thinner pieces of wood together first as you can see at the front of the body block.
No, I did not attach it to the dining table.
Neck blocks of reducing sizes cut and placed.
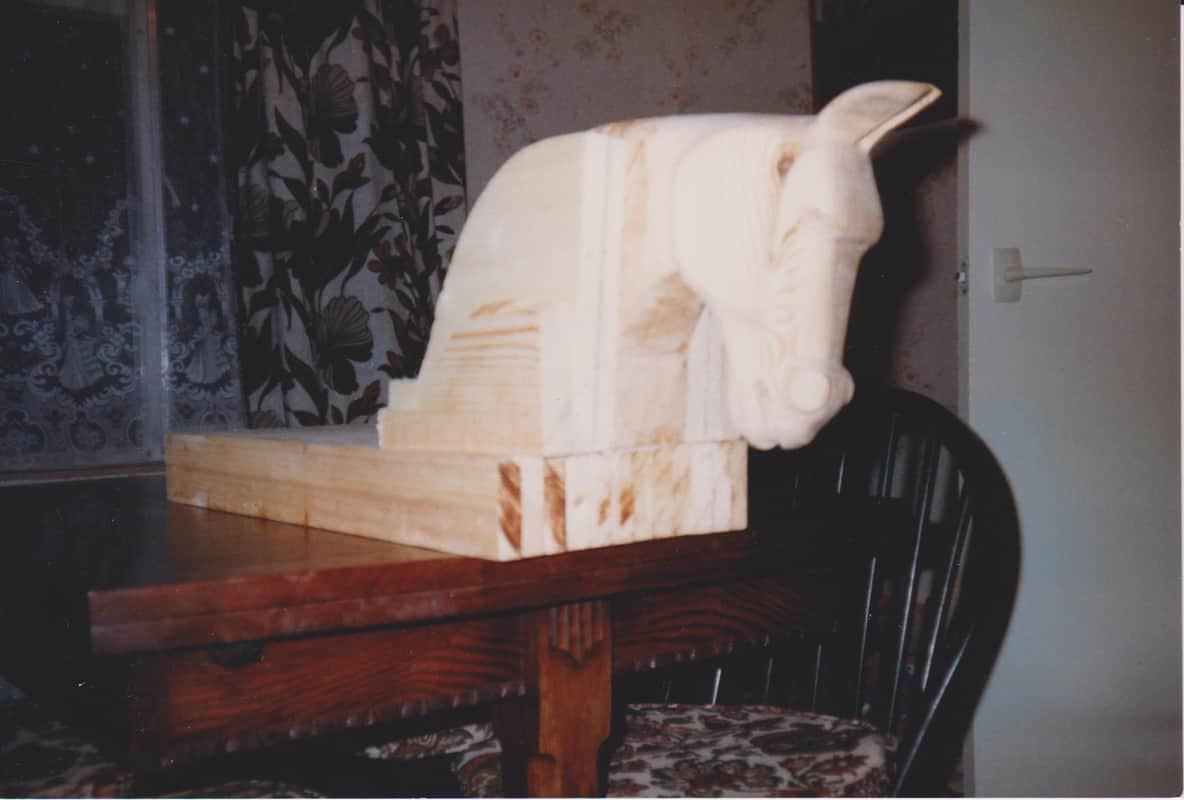
TI (trial assembly) of head, neck, and body to make sure it all fits.
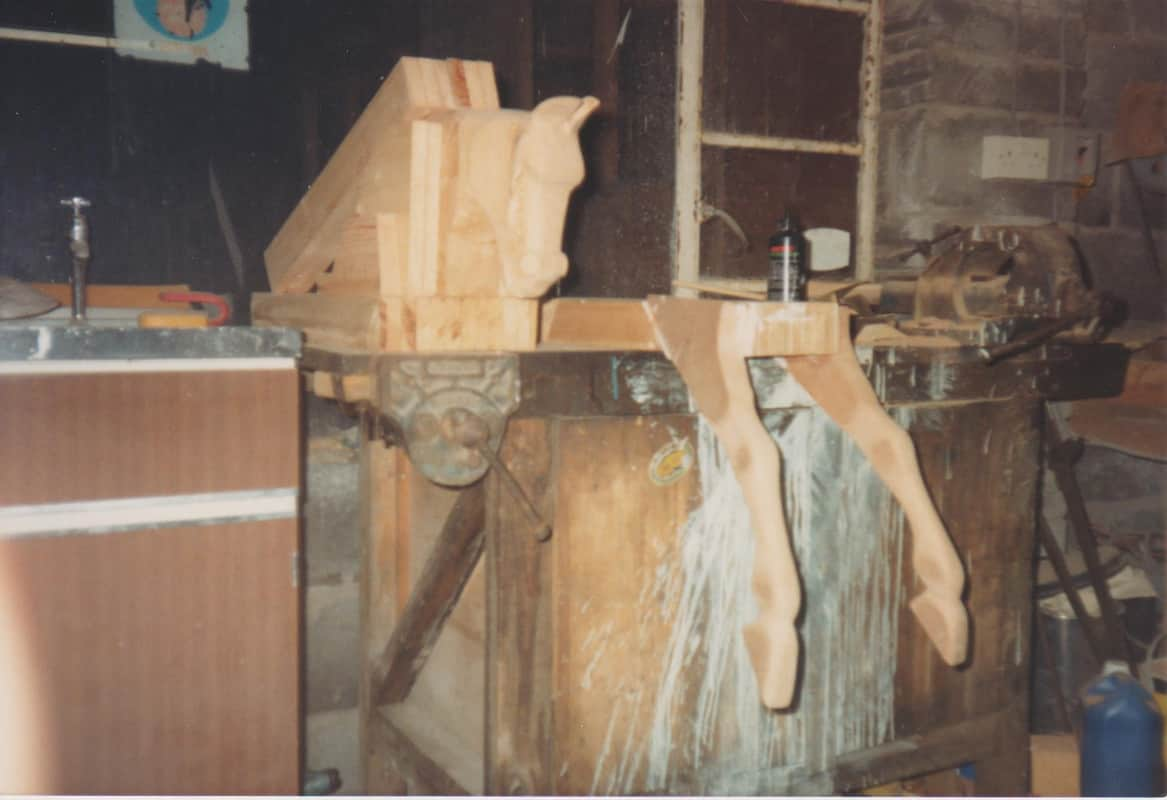
Legs made from beech (purchased from a timber yard near Box Tunnel) carved and glued to the bottom body block.
Top parts placed for convenience. I managed to spill a load of wood glue, hence the mess down the front of my workbench. The wood resting on top at an angle are the two sides of the body middle, as traditionally these horses are hollow.
Another TI before gluing.
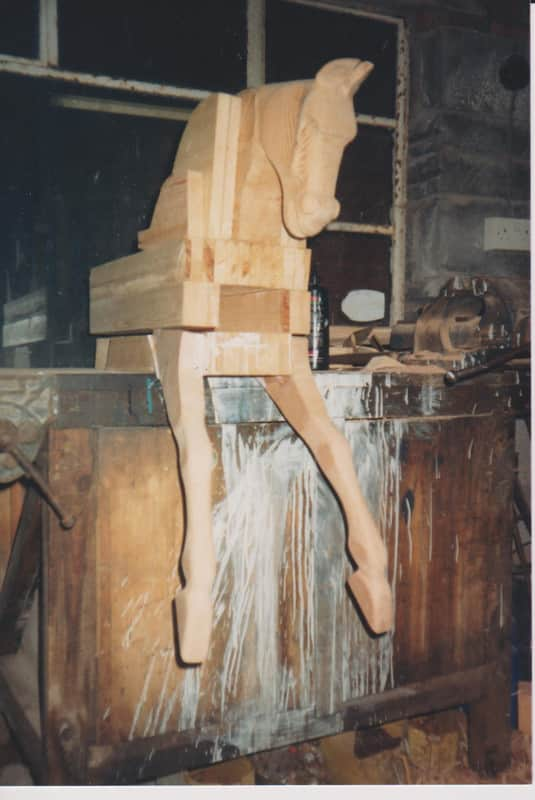
Head and neck glued and clamped to the torso. Now you can see how the noggins work.
My Lovely Cousin always complained that the coffee table I made was wonky, so I incorporated it into the horse instead.
The block of wood on the floor by the rear legs is the offcut from the head. It is retained so the clamps go on the flat face of the offcut, not on the angled and carved parts of the head.
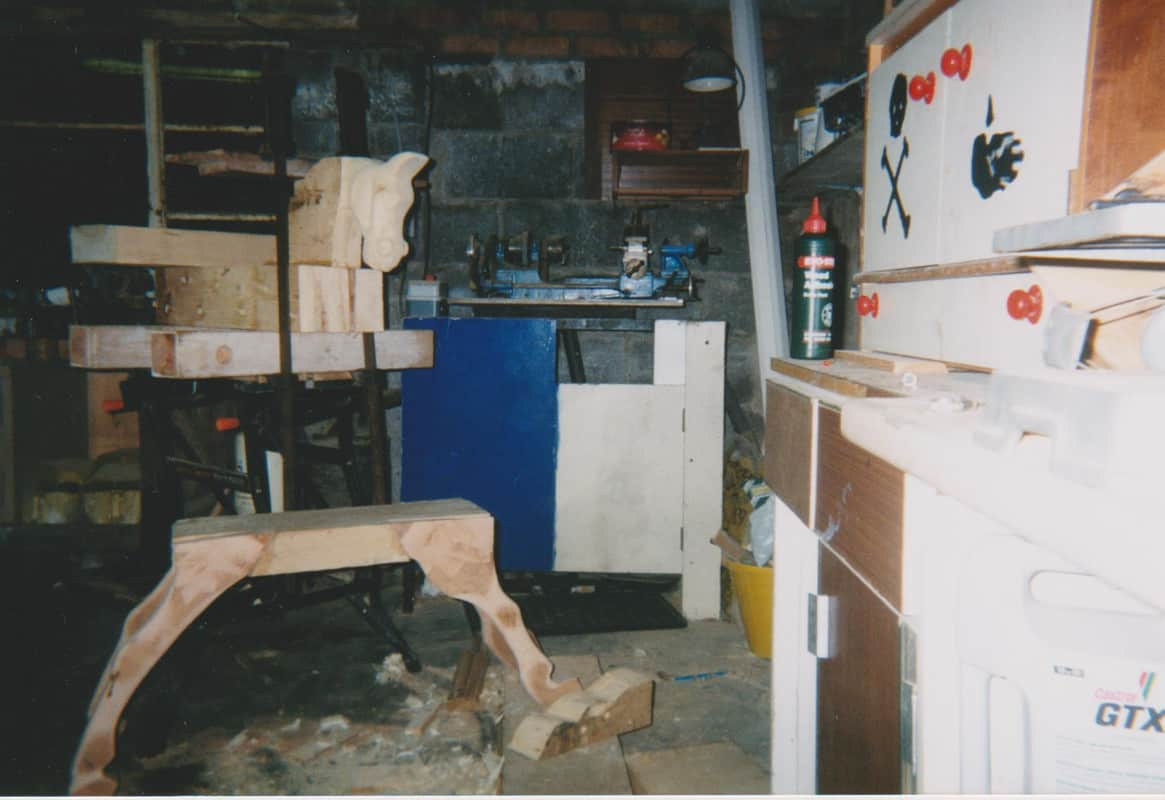
Gluing and clamping all the major parts together.
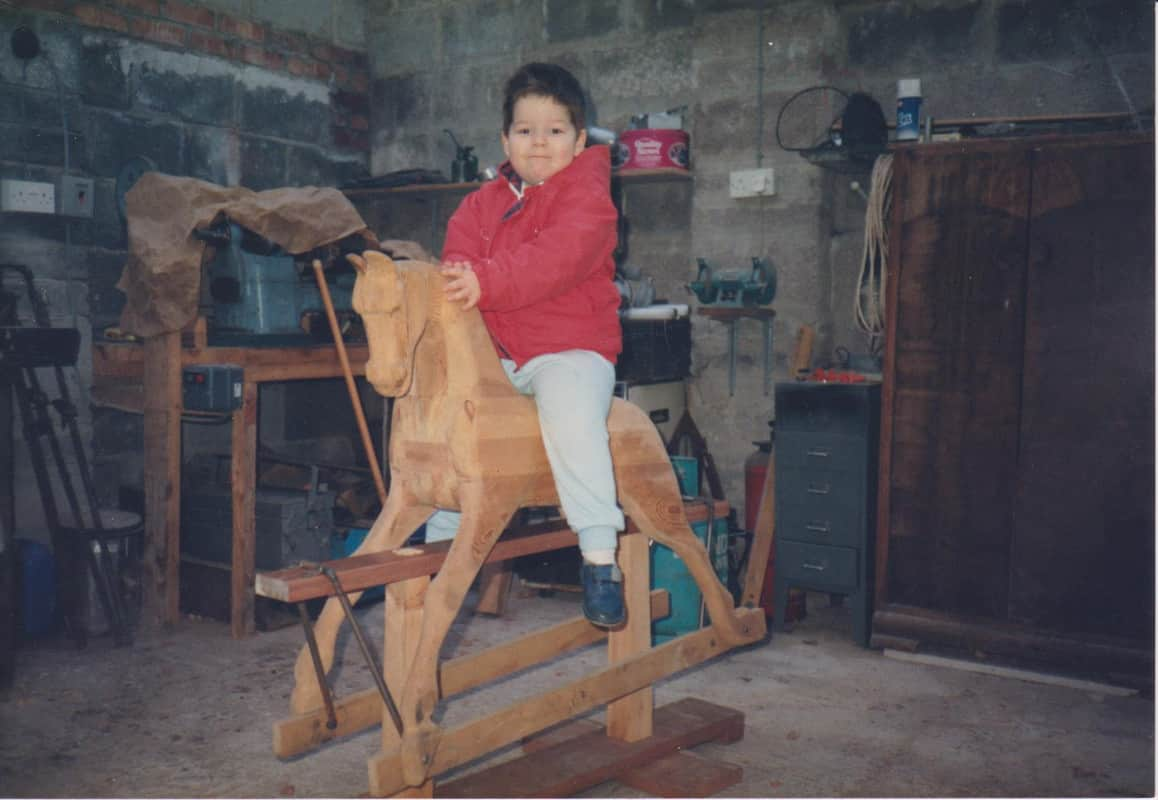
Does my bum look big in this?
“Make do” carving clamp so I could shape the horse using a draw-knife and spokeshaves.
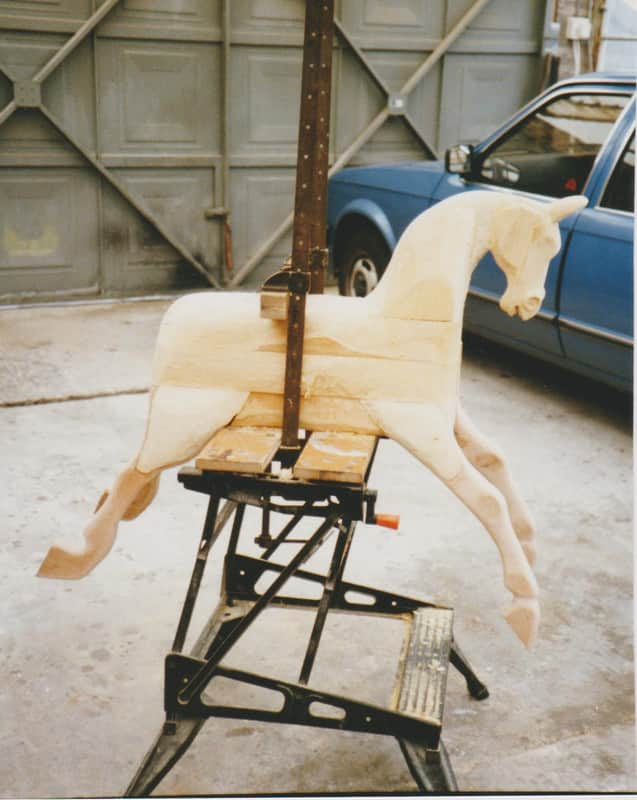
No caption needed.

Just stand there. Made from parts of an old mantlepiece.
The swing irons are made from 13mm bar that I heated and bent to shape using an anvil inherited from my grandad.
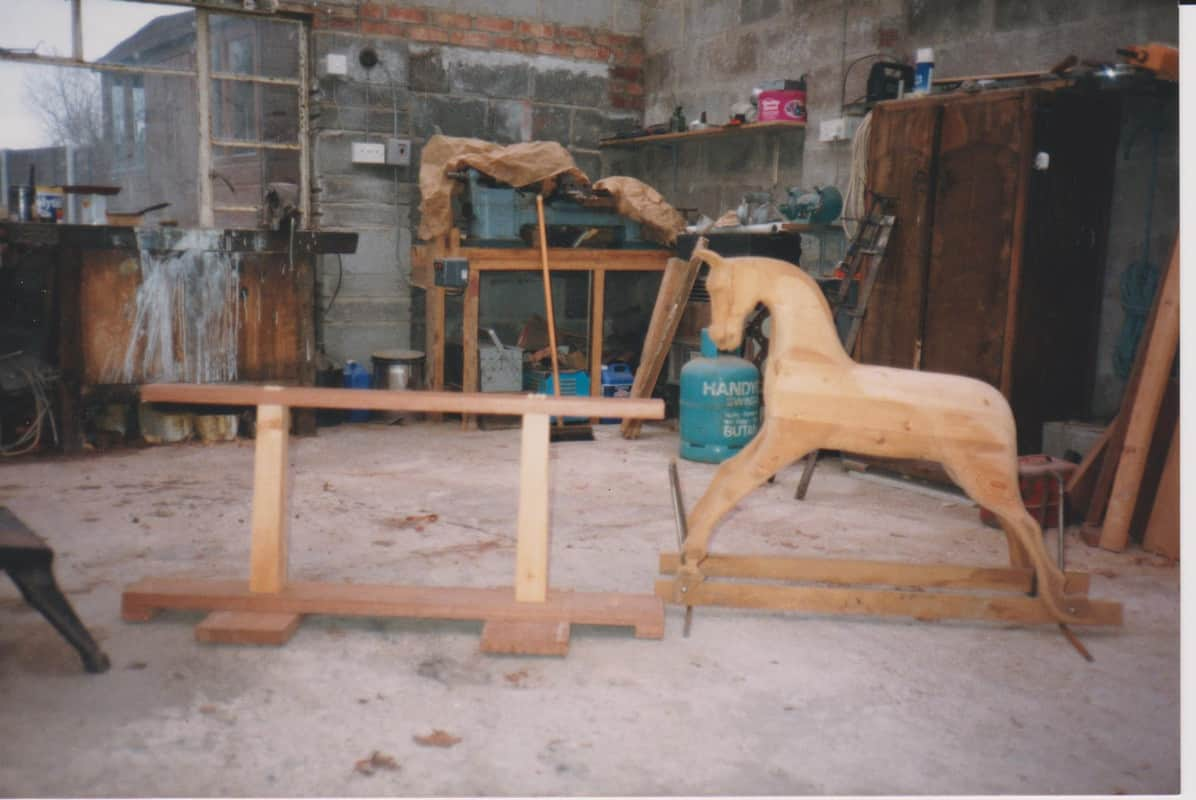
Ye-ha!. The swing-iron brackets are made from strips of metal salvaged from some office drawer vertical file hangers.
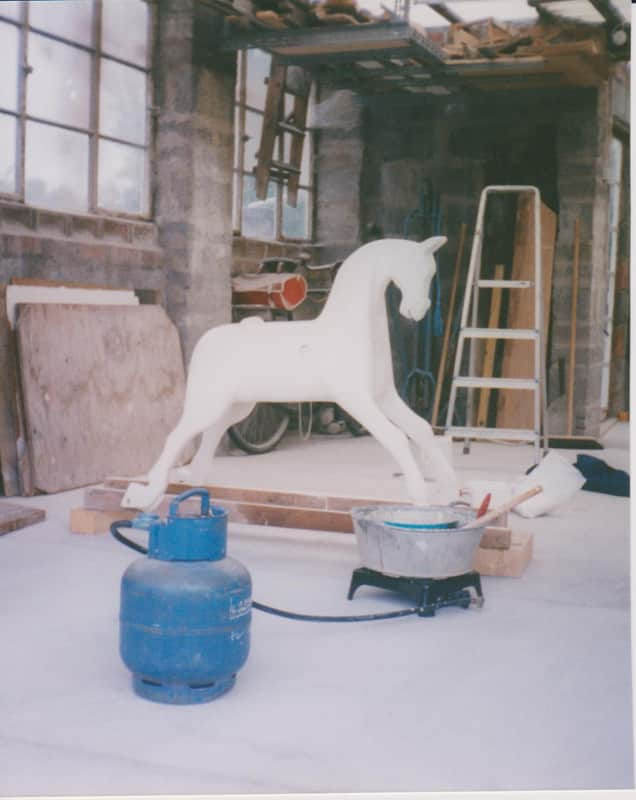
The horse is first covered in size made from rabbit skin glue, then covered in a layer of hot gesso, aka gilders whiting mixed with rabbit skin glue. It stunk, but when set it is very hard. It’s the same stuff the fiddly bits on ornate picture frames are made from.
The size and then the gesso are heated in a water bath then applied quickly with a brush. The horse is sat on dummy runners to prevent splattering of the real things.
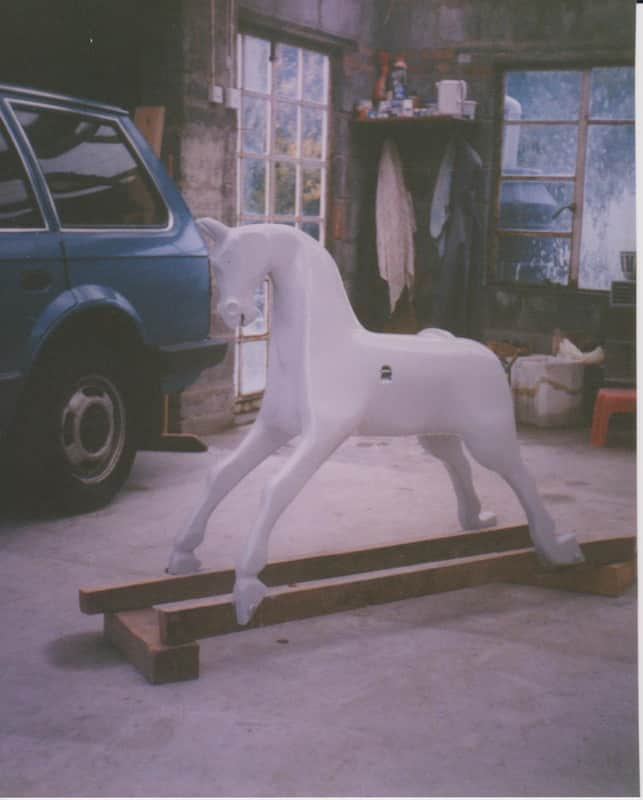
You can’t really tell, but this is after coating with several undercoats and then top coats of “whisper grey”. I made staples from a 150mm nail that are hammered into a hole cut in each side for the stirrup straps.
The block on the back is to add shape to the rear of the saddle when fitted.
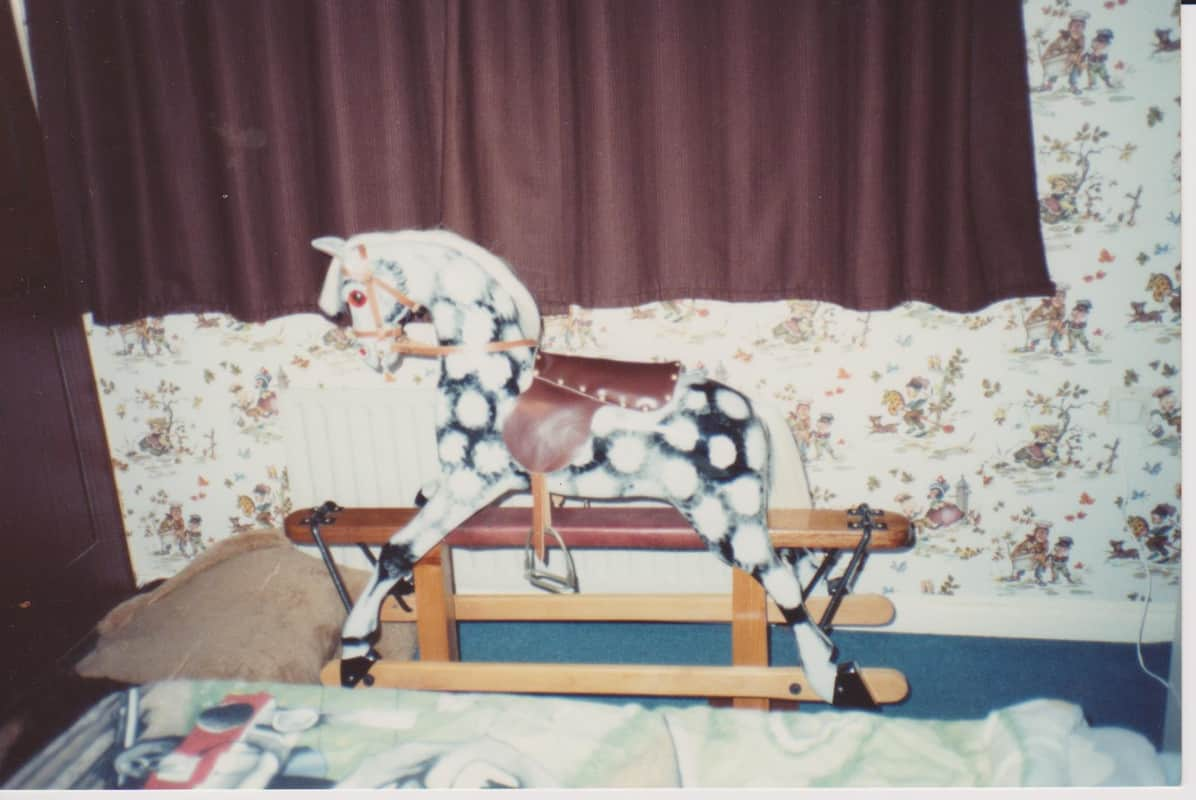
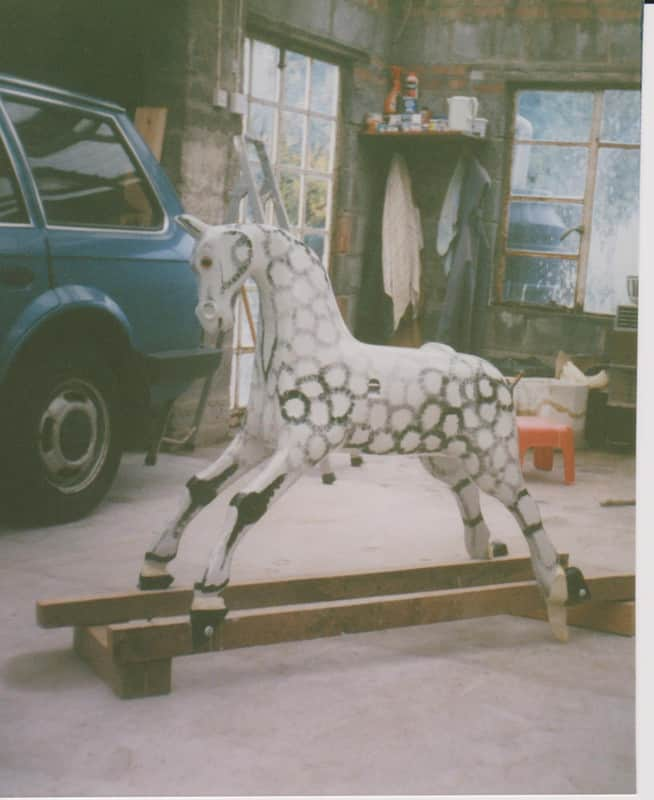
Finished in traditional dapple grey. Paint is applied by dipping a small “parcel” of stockinet wrapped around a piece of sponge into a small amount of paint on an old tile, then dabbed in rough circles to make a pattern.
Finished. I made the bit and rings out of a length of brass rod. The leather was locally sourced and cut into strips, then buckles and rivets added to make the bridle reins, and stirrup straps.
The stirrups were bought at a car boot sale.
I made the saddle from a piece of cow hide, cut to shape, held in place with ordinary nails, then the nail heads hidden by upholstery nails.
The mane, tail, and eyes were bought from the Rocking Horse shop near York. The chap that owns it wrote the book I used.