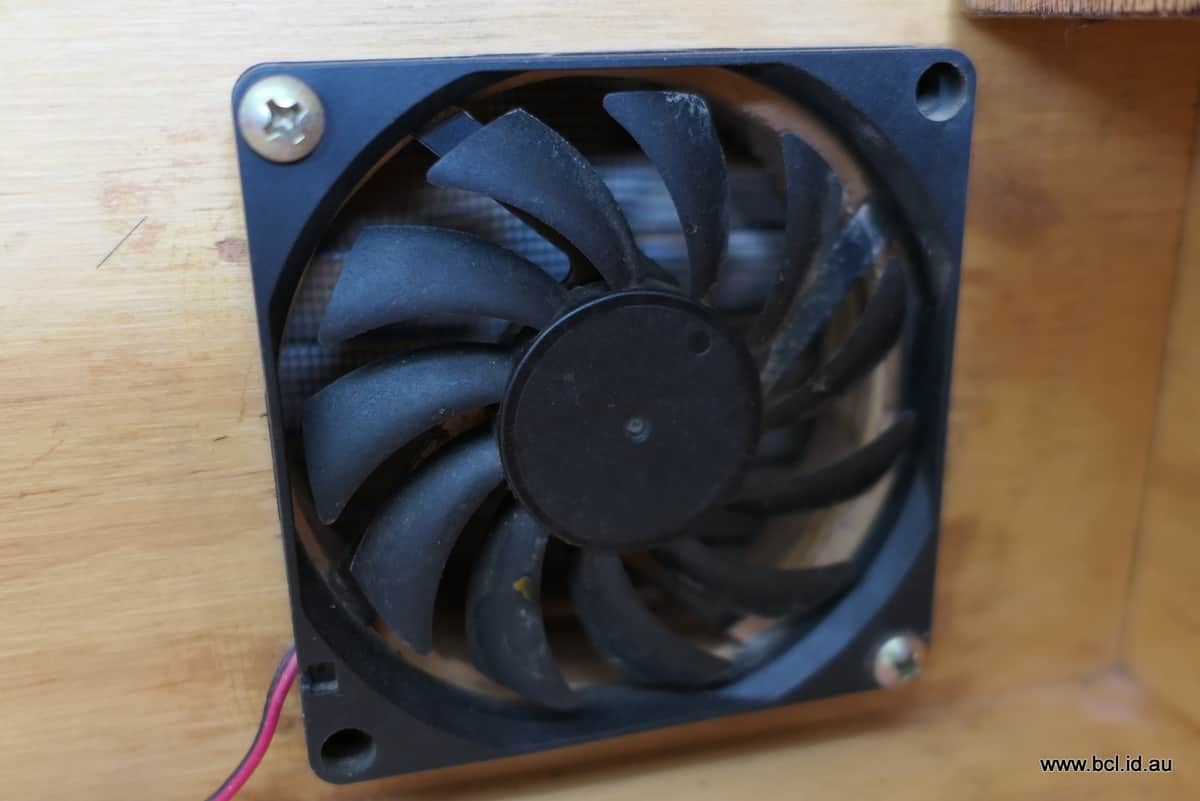
I am getting more confident with my 3D printer now, my latest project is a grill for the 80mm fans in my camper. I installed these computer 12v fans some time ago, they provide ventilation when the doors are shut because of rain.
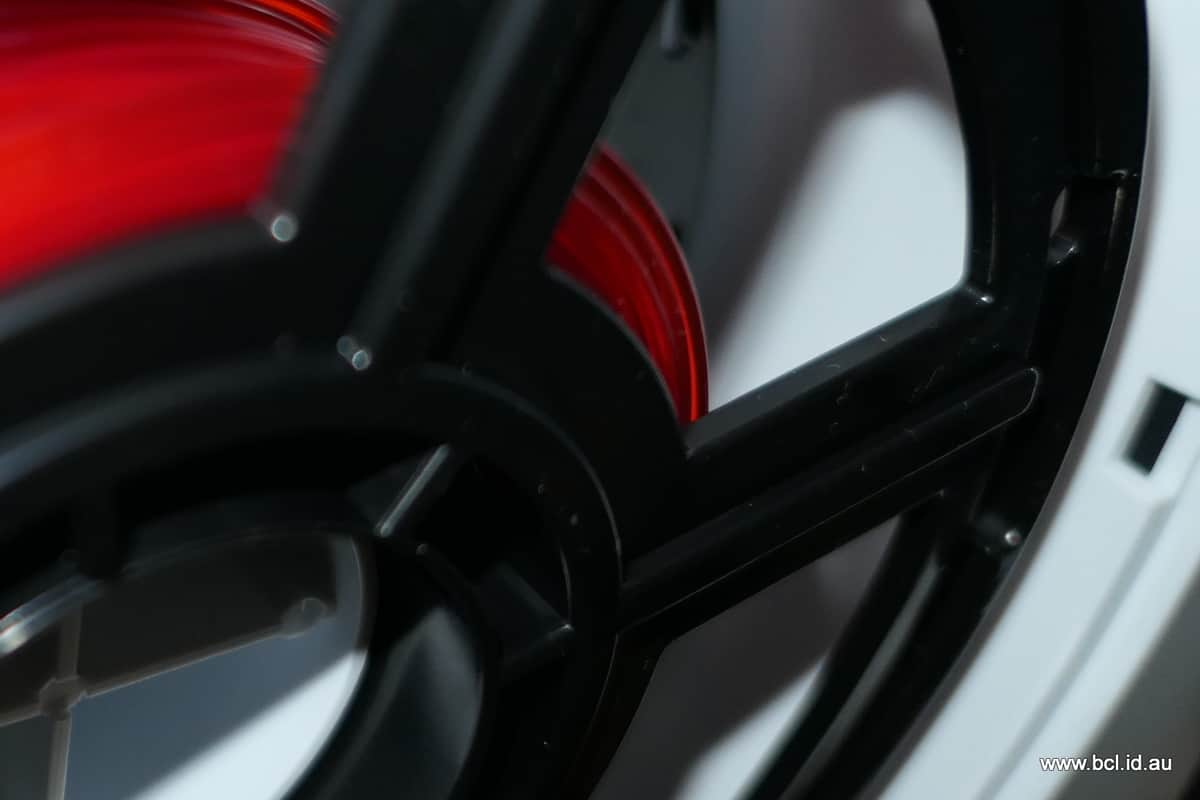
They are rarely used but the blades are exposed in the kitchen area, they are actually behind boxes so you can’t see them but it has worried me slightly that something could fall off the boxes and jam the blades which would be inconvenient remembering that they are only used when it rains.
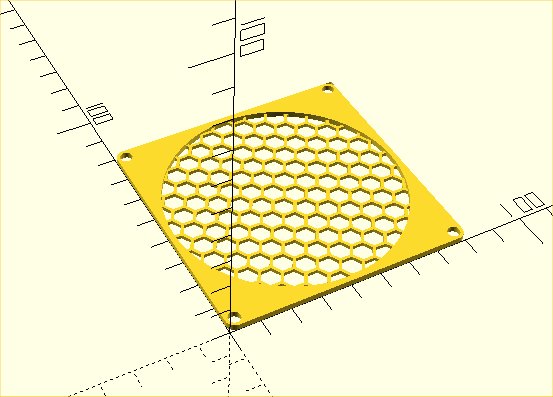
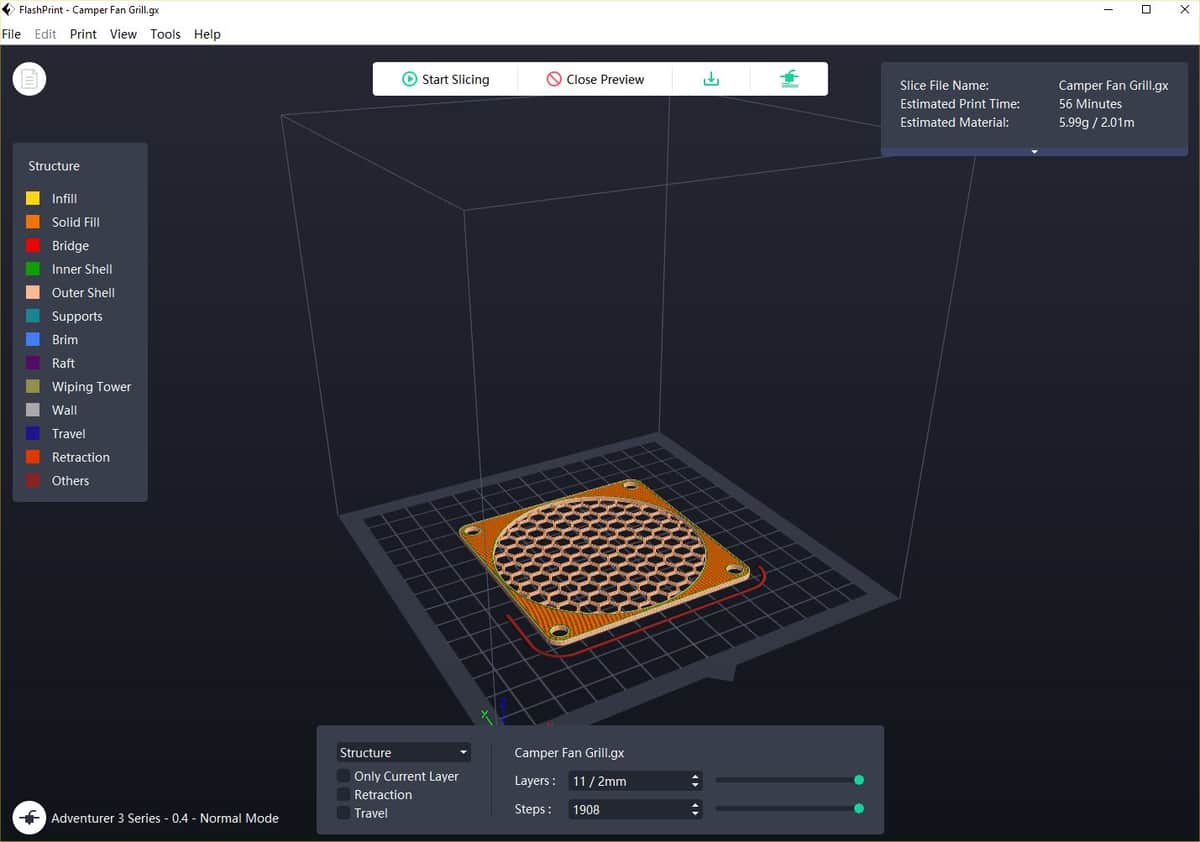
Anyway as I speak my printer is printing out a test piece for the fans - merely to check sizing which might need a bit of a tweak to align the screw holes…
Again designed in OpenScad an absolutely brilliant program
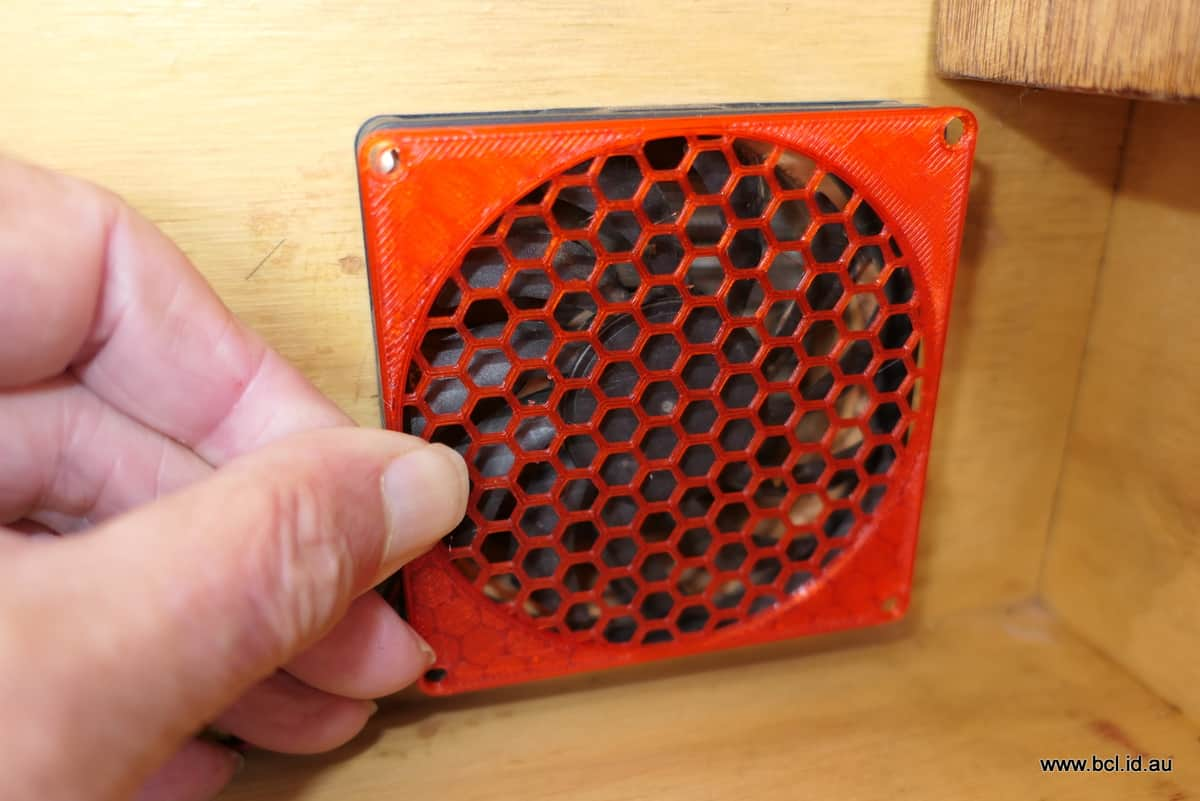
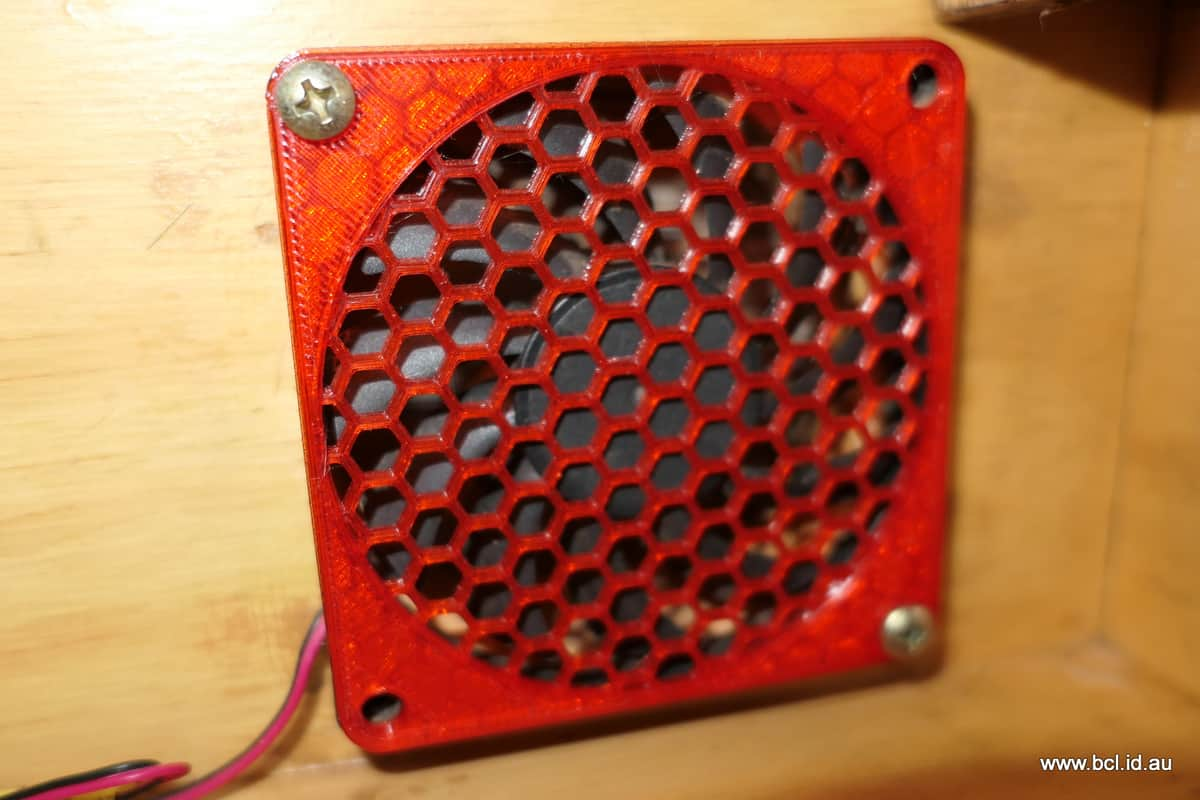
Am currently printing out an identical one for the other fan. Am very pleased. If there is any complaint it is the colour - Am still using the original filament supplied with the machine, the damn stuff seems to last for ever. May be later I might reprint it in black but as it is completely out of sight I am not sure that I will bother.
If you look at the details top right, it will take 56 minutes to print and will use about 6 grams of filament or 2 metres of the stuff. The time is accurate, I suppose I could weigh the thing to confirm the weight.
For things like this I basically use the default settings eg 15% infill and three layers top and bottom. BTW the printer is rated at 150watt but I would assume it actually uses less than that as the heating elements are kept at a constant temperature
Am very happy with the printer, OpenScad and my (slow) progress.
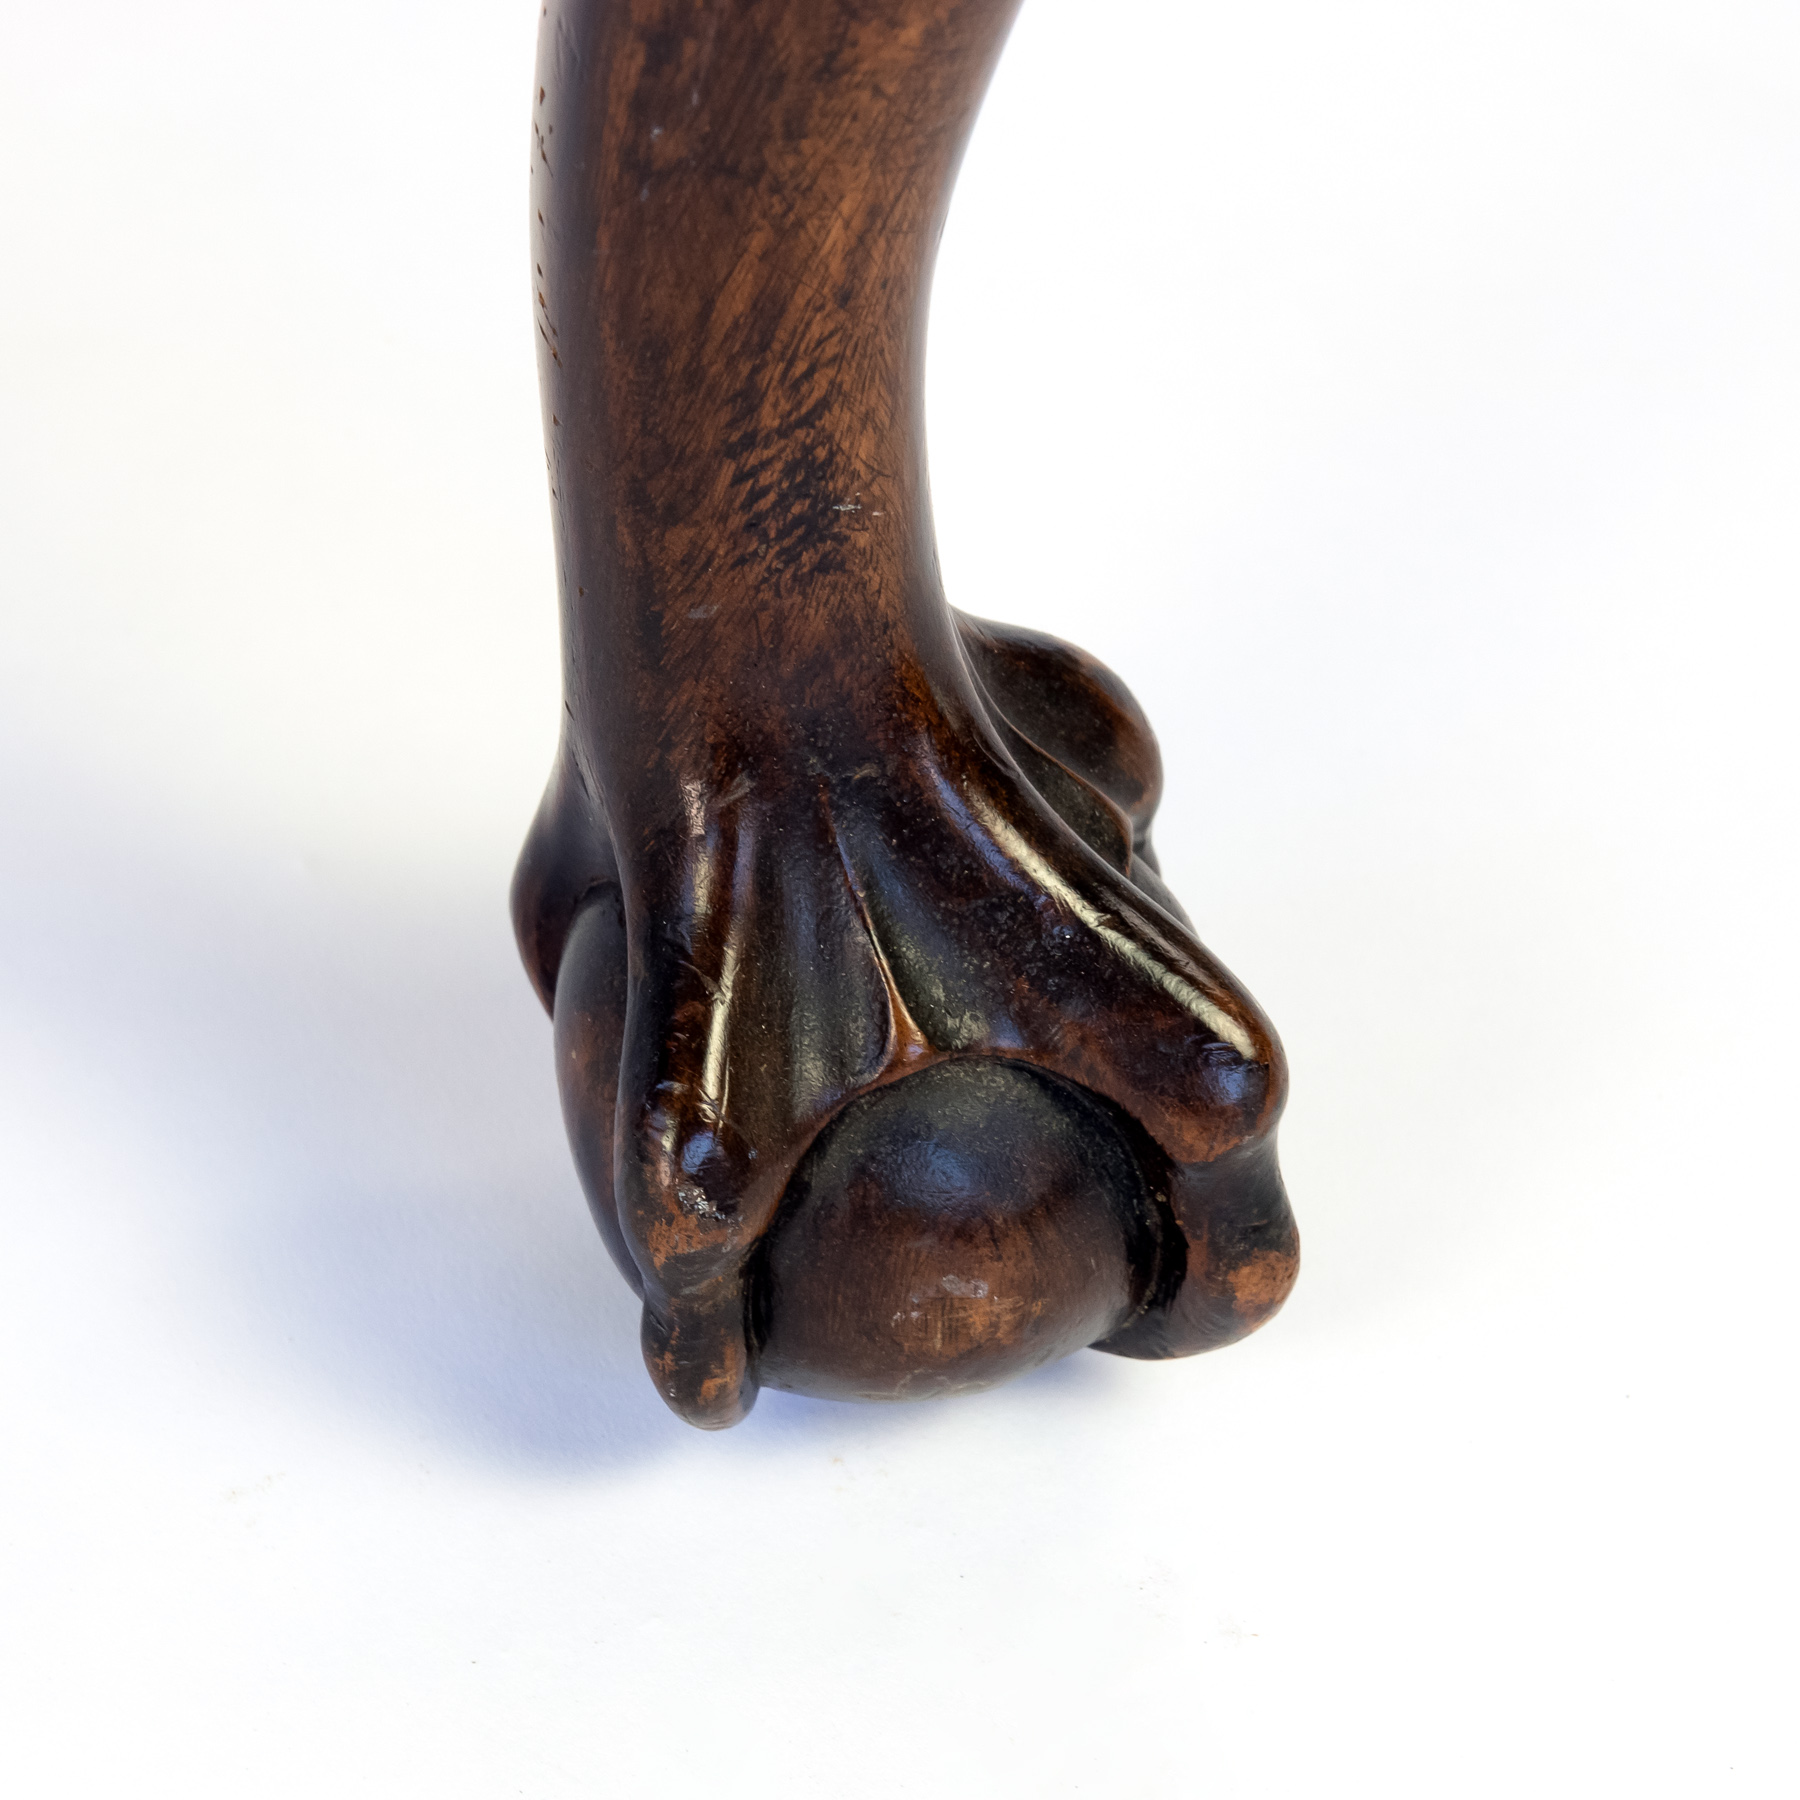
We’ve got an Edwardian Dining Table with ‘ball in claw’ feet. It’s got wheels/casters attached but I’d like to raise it up a inch. We thought about ways of doing this but ended up getting caster cups.
I was thinking along the lines of removing the wheels (they’re not needed) and fitting giant golf tees. There are problems with this idea: 1) the balls are not round because of claws attached. 2) how to fix them securely against getting accidentally kicked. You could have a screw going up thru the stem into the wooden ball and a flat pad tee bottom end steadying it on the floor (?)
It seems quite flexible and I can make it stronger by making it thicker, increasing the % of infill (100% is solid), increasing the number of surface layers but for this particular use I think the minimum, default settings are OK
Infill is very variable you can have different fill at any percentage you like up to 100%, I have stuck with the default hexagon pattern at 15%. From memory I stuck with 4 surface layers. You can also use different filaments like ABS or something called PETG (I think), I am using PLA it is sort of the default plastic which I think starts to melt at 150°C.
Some of that might be wrong, I am still learning.
A quick calculation says that the computer fan grill cost 21c to make assuming 100watts for 1 hour and 6 grams of material which I thought quite cost effective (not that I wouldn’t have made it anyway)
I meant to say that if the table was mine I would use some wood stained to the same colour as the table to raise it up matched to the shape of of the feet. You could use a router to hollow out the wood to keep the leg in place and a piece of carpet as a base to stop it scratching the floor (assuming you have a wooden floor)
Personally I wouldn’t want plastic as part of that table,
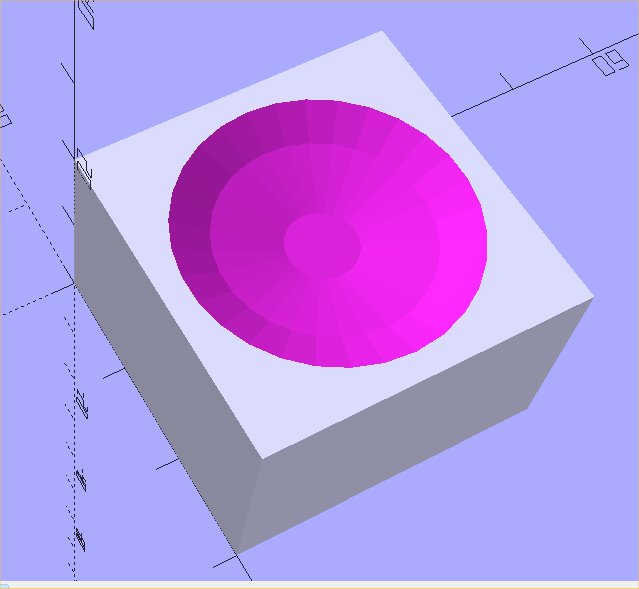
What I had in mind was more of a stand for each leg (less invasive) more like this
Except shaped to mimic the outline of the foot ie rounded corners mimicking the claws and perhaps slightly more rectangular. The depression shaped to hold the ball of the foot probably not as deep as in the illustration .